
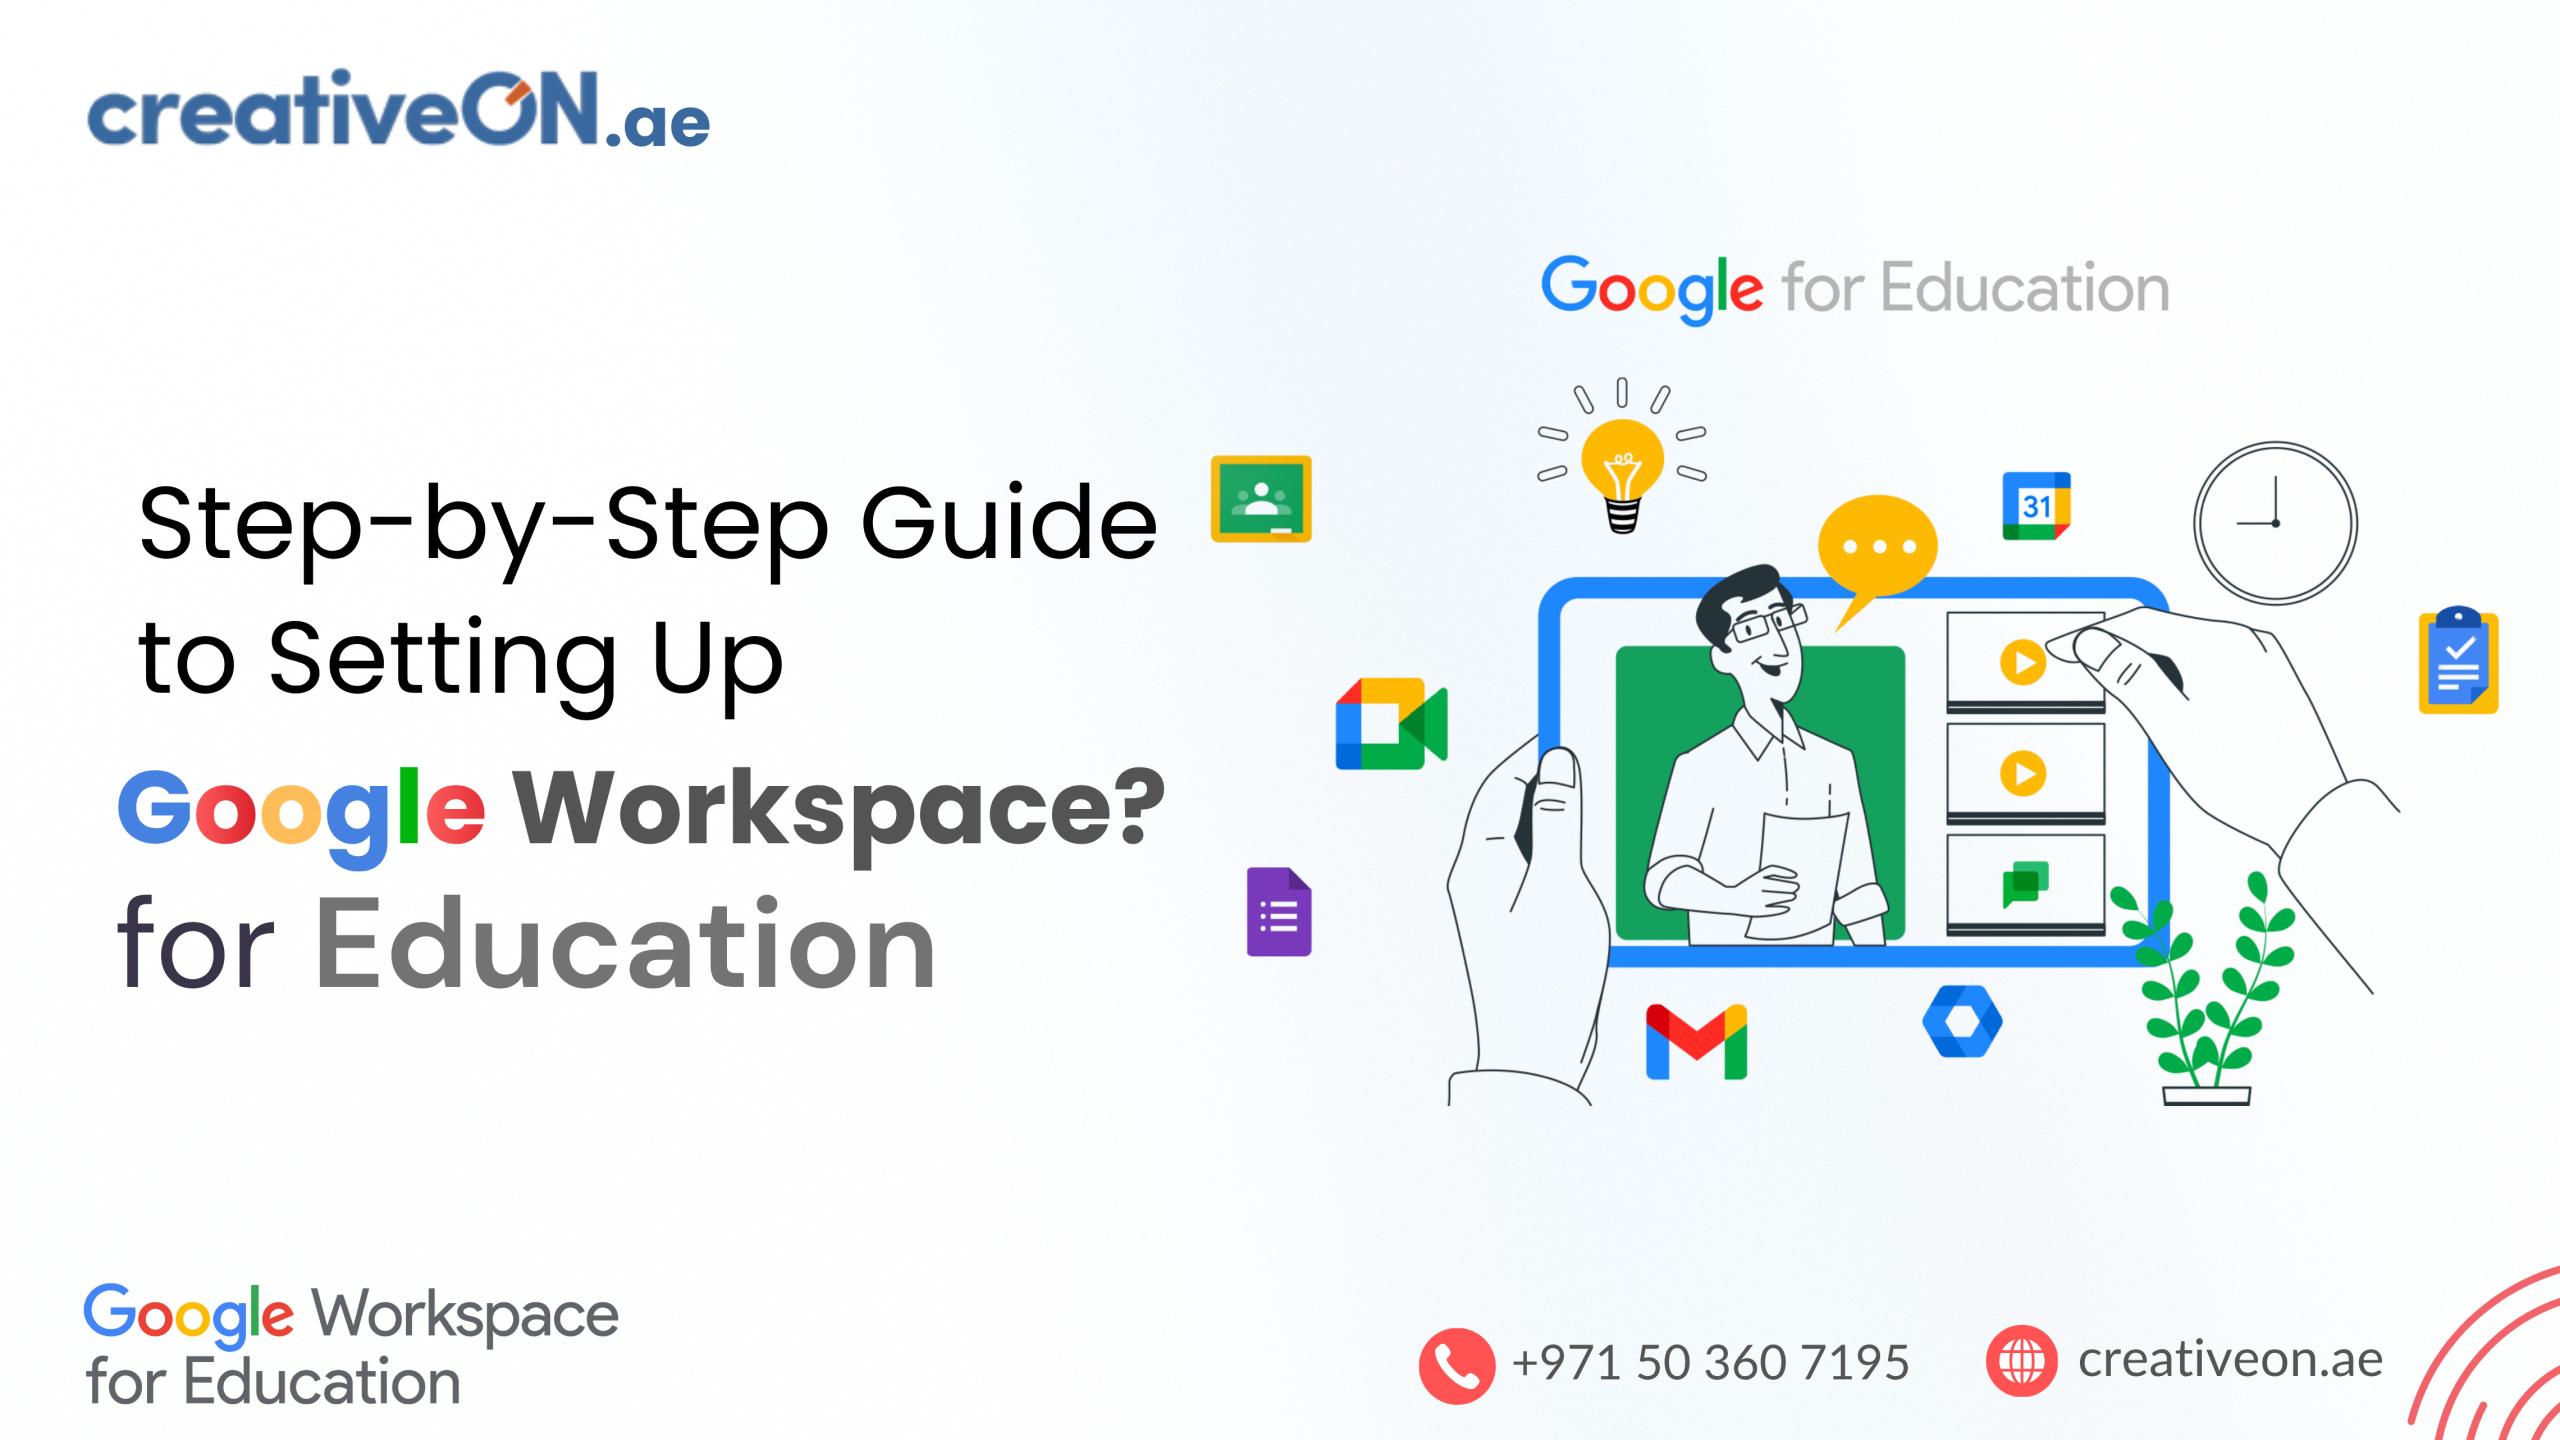
Introduction
Setting up Google Workspace for Education is one of the most important steps for any school moving to digital learning. It brings teachers, students, and school administrators into one connected system where classes, communication, and learning materials are managed in a structured way.
This guide explains the full setup process in a practical, real-world way so school IT teams and administrators can correctly deploy the system from the start without confusion or missing steps.
Before You Start: Requirements for Schools
Before setup begins, schools must make sure a few basic requirements are ready. This prevents delays during activation.
A school should have:
- A verified school domain (for example: yourschool.edu or approved domain)
- A dedicated admin email account
- Permission from school leadership for digital rollout
- A basic list of teachers and student data (names and roles)
- Stable internet access for setup and testing
Google reviews school eligibility before activating the system, so correct information is important.
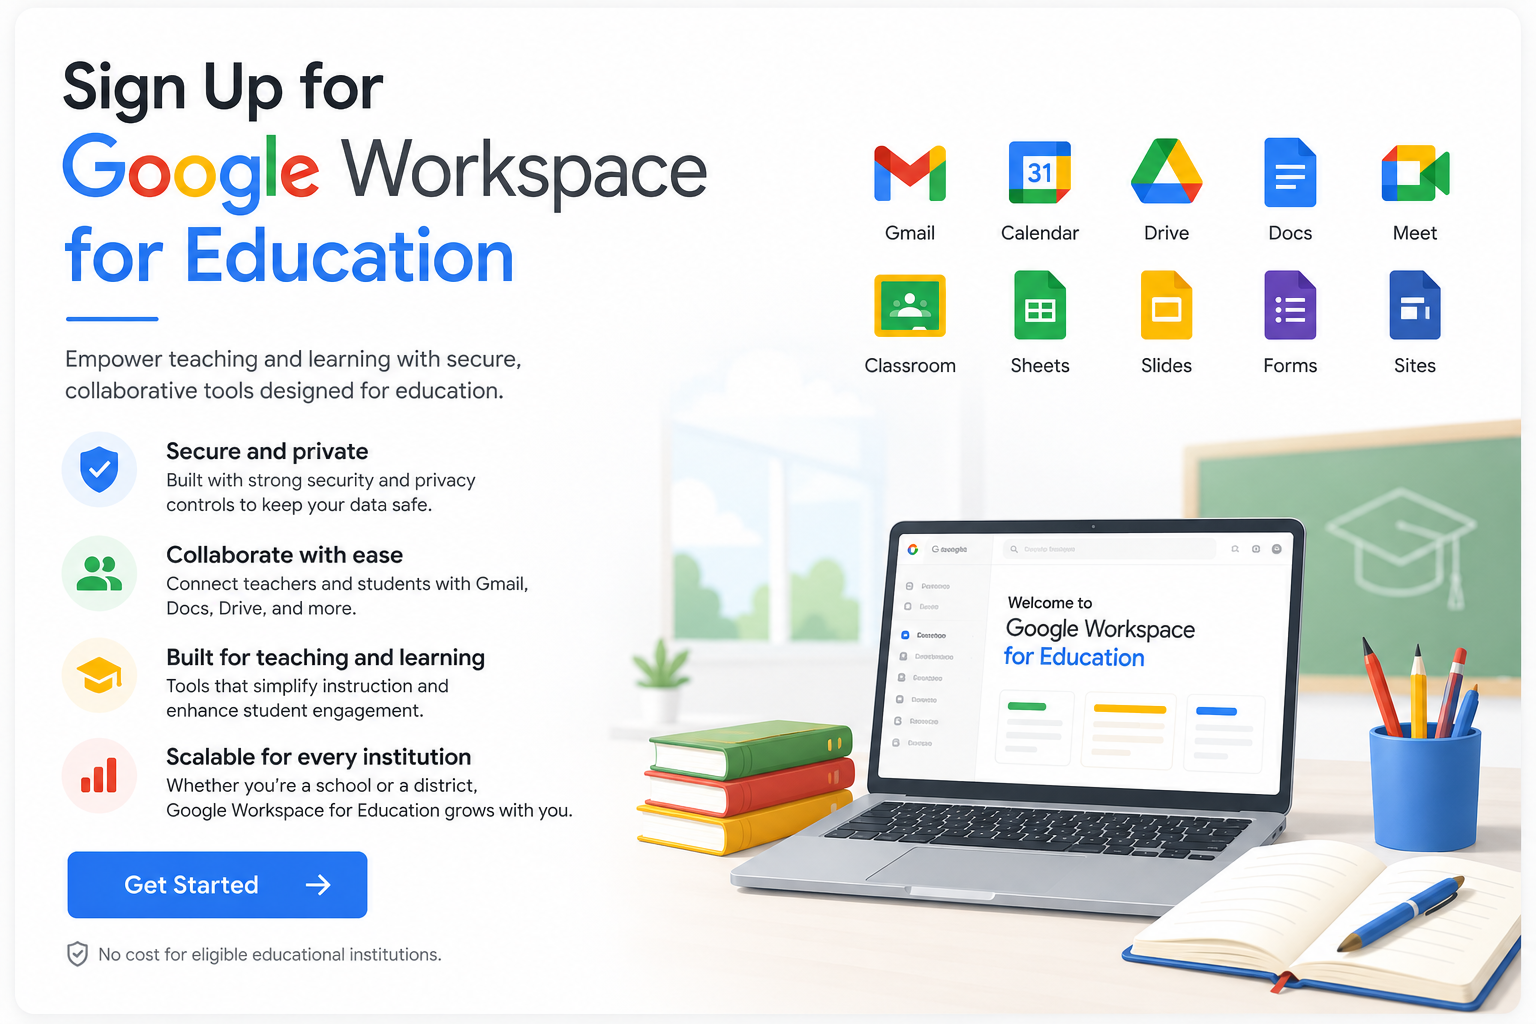
Step 1: Sign Up for Google Workspace for Education
The setup process starts by registering the school with Google Workspace for Education.
During sign-up:
- Enter school details
- Add official domain
- Provide administrator contact information
- Submit for verification
After submission, Google reviews the request and approves eligible institutions.
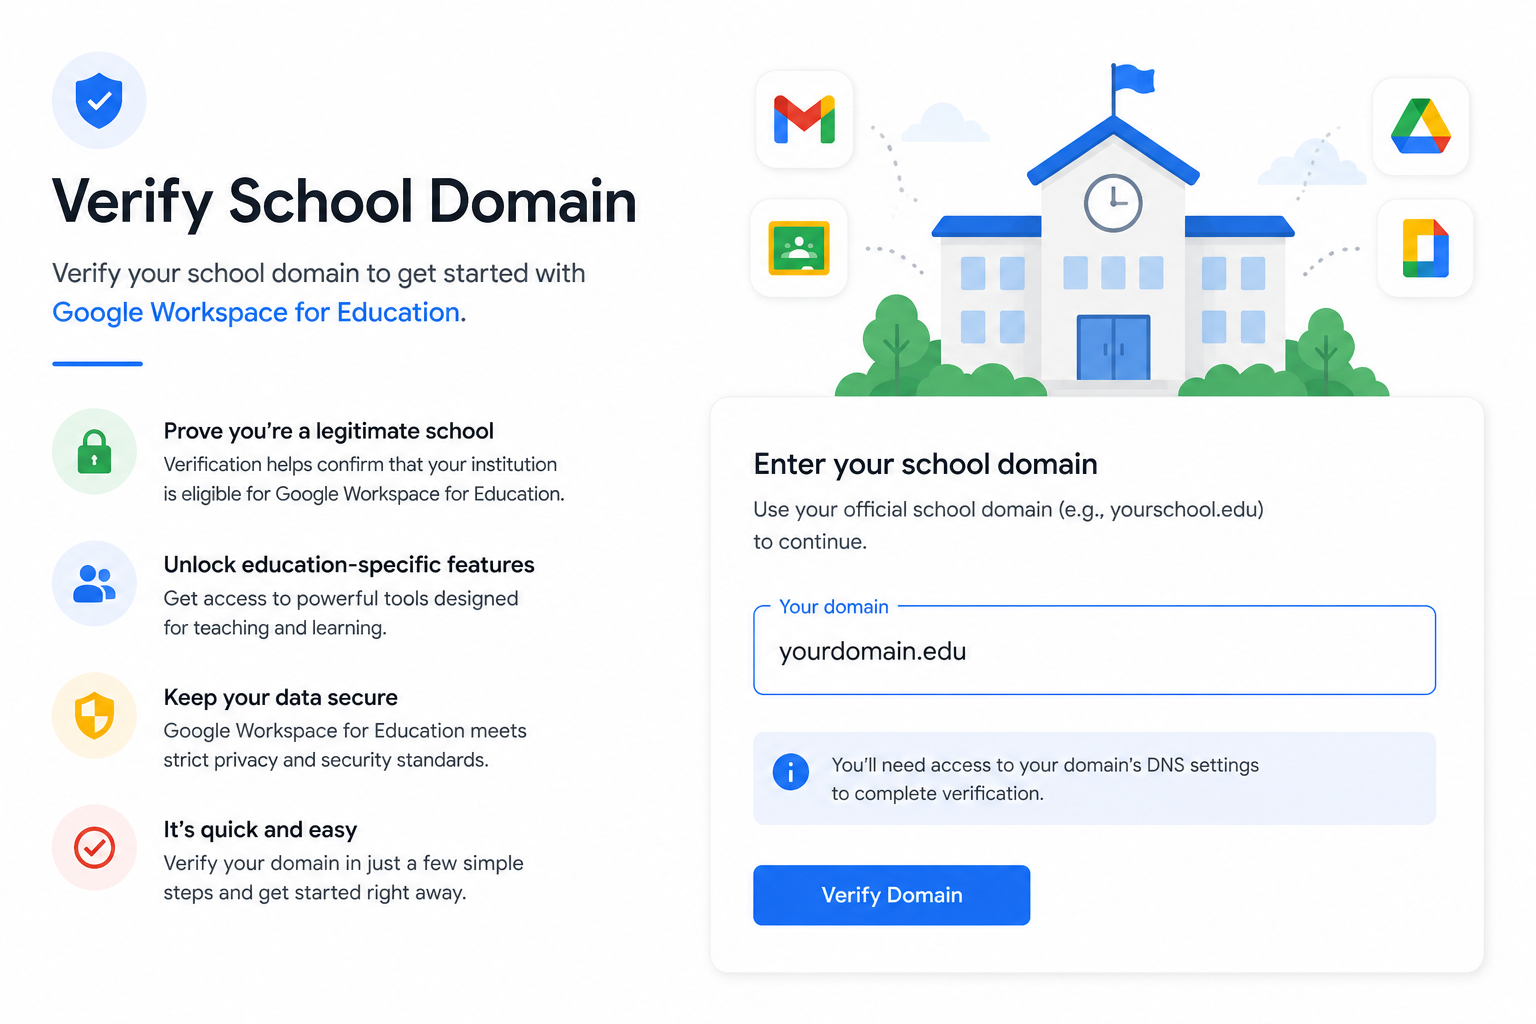
Step 2: Verify School Domain
Domain verification confirms that the school owns the website address used for accounts.
Inside Google Admin Console:
- Add the verification record provided by Google
- Paste it into your domain DNS settings
- Confirm verification inside Admin Console
Once verified, the school can start creating official accounts.
Step 3: Understand School Roles Before Setup
A successful setup depends on understanding how each role works in the system:
School IT Admin
- Controls all accounts and settings
- Manages security and access
- Handles user creation
Teachers
- Create and manage classes
- Assign homework and assessments
- Communicate with students
Students
- Access learning materials
- Submit assignments
- Join virtual classes
School Leadership
- Oversees system usage
- Reviews reports and progress
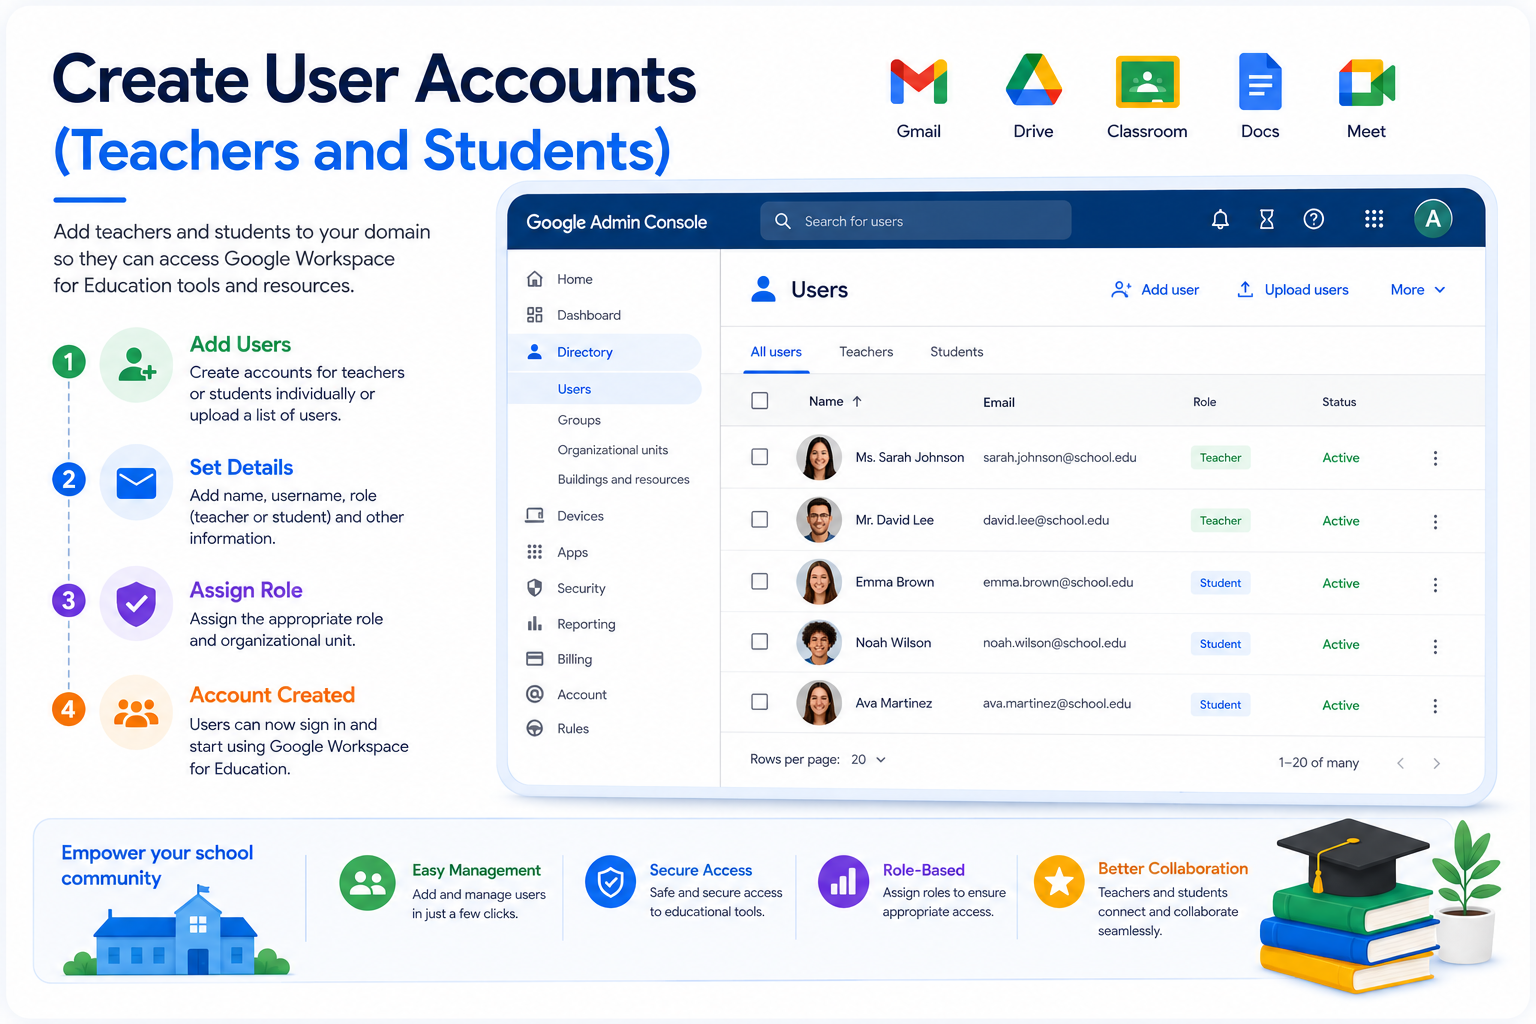
Step 4: Create User Accounts (Teachers and Students)
Inside Google Admin Console, the admin creates accounts.
Manual Setup
- Add users one by one
- Assign roles (Teacher, Student, Staff)
Bulk Upload (Recommended for Schools)
- Upload CSV file with all users
- Assign departments or classes automatically
Each user receives:
- School email address
- Login credentials
- Access to assigned tools
Step 5: Organize School Structure Using Organizational Units
Organizational Units (OUs) help schools stay organized.
Common structure:
- Students (by grade)
- Teachers
- Administration staff
Benefits:
- Easy permission control
- Better security management
- Simple policy application per group
Step 6: Enable Core Learning Tools
After user setup, schools activate the main learning tools.
Google Classroom
Used for:
- Creating classes
- Posting assignments
- Managing student submissions
Google Drive
Used for:
- Storing study materials
- Sharing school documents
- Organizing class folders
Google Docs
Used for:
- Writing assignments
- Group projects
- Teacher feedback
Google Forms
Used for:
- Quizzes and tests
- Homework submission forms
- Surveys and feedback
Google Meet
Used for:
- Online classes
- Parent meetings
- Remote learning sessions
Step 7: Configure Security Settings
Security is one of the most important parts of setup.
Inside Admin Console, schools should:
- Enable two-step verification for staff
- Set password rules for students
- Control external sharing permissions
- Restrict account access on unknown devices
- Monitor login activity
These settings protect student data and school accounts.
Step 8: Set Up Google Classroom Structure
Before full rollout, schools should organize Google Classroom properly:
- Create classes by grade (Grade 1, Grade 2, etc.)
- Add subjects (Math, Science, English)
- Assign teachers to each class
- Invite students using school emails
This structure keeps learning organized and easy to manage.
Step 9: Pilot Testing (Small Group Rollout)
Before launching school-wide, run a pilot test:
- Select a few teachers and students
- Test assignments, submissions, and meetings
- Check login and access issues
- Fix errors before full rollout
This step reduces major problems during full deployment.
Step 10: Full School Rollout
After testing is successful:
- Activate accounts for all students
- Start full classroom usage
- Enable online learning workflows
- Train all teachers for daily use
At this stage, the system becomes part of daily school operations.
Common Setup Problems and Fixes
1. Domain Verification Failed
- Check DNS record entry
- Wait for propagation time
2. Students Cannot Login
- Ensure account is activated
- Reset password from Admin Console
3. Google Classroom Not Visible
- Enable service in Admin settings
- Check user permissions
4. Google Meet Access Issues
- Confirm Meet is enabled for organization
- Check admin restrictions
Real School Setup Example
A mid-sized school with 500 students typically:
- Creates 500 student accounts
- Adds 40 teachers
- Organizes grades into separate organizational units
- Sets up 30–50 Google Classrooms
- Runs pilot testing with one grade first
- Expands rollout across all grades within 2–3 weeks
This phased approach ensures stability and smooth adoption.
Summary
Setting up Google Workspace for Education is not just about creating accounts—it is about building a structured digital learning environment for the entire school.
When properly configured through Google Admin Console and supported by tools like Google Classroom, Google Drive, and Google Meet, schools can manage teaching, learning, and communication in one system.
A step-by-step rollout approach ensures fewer errors, better adoption, and a smoother transition for both teachers and students.