
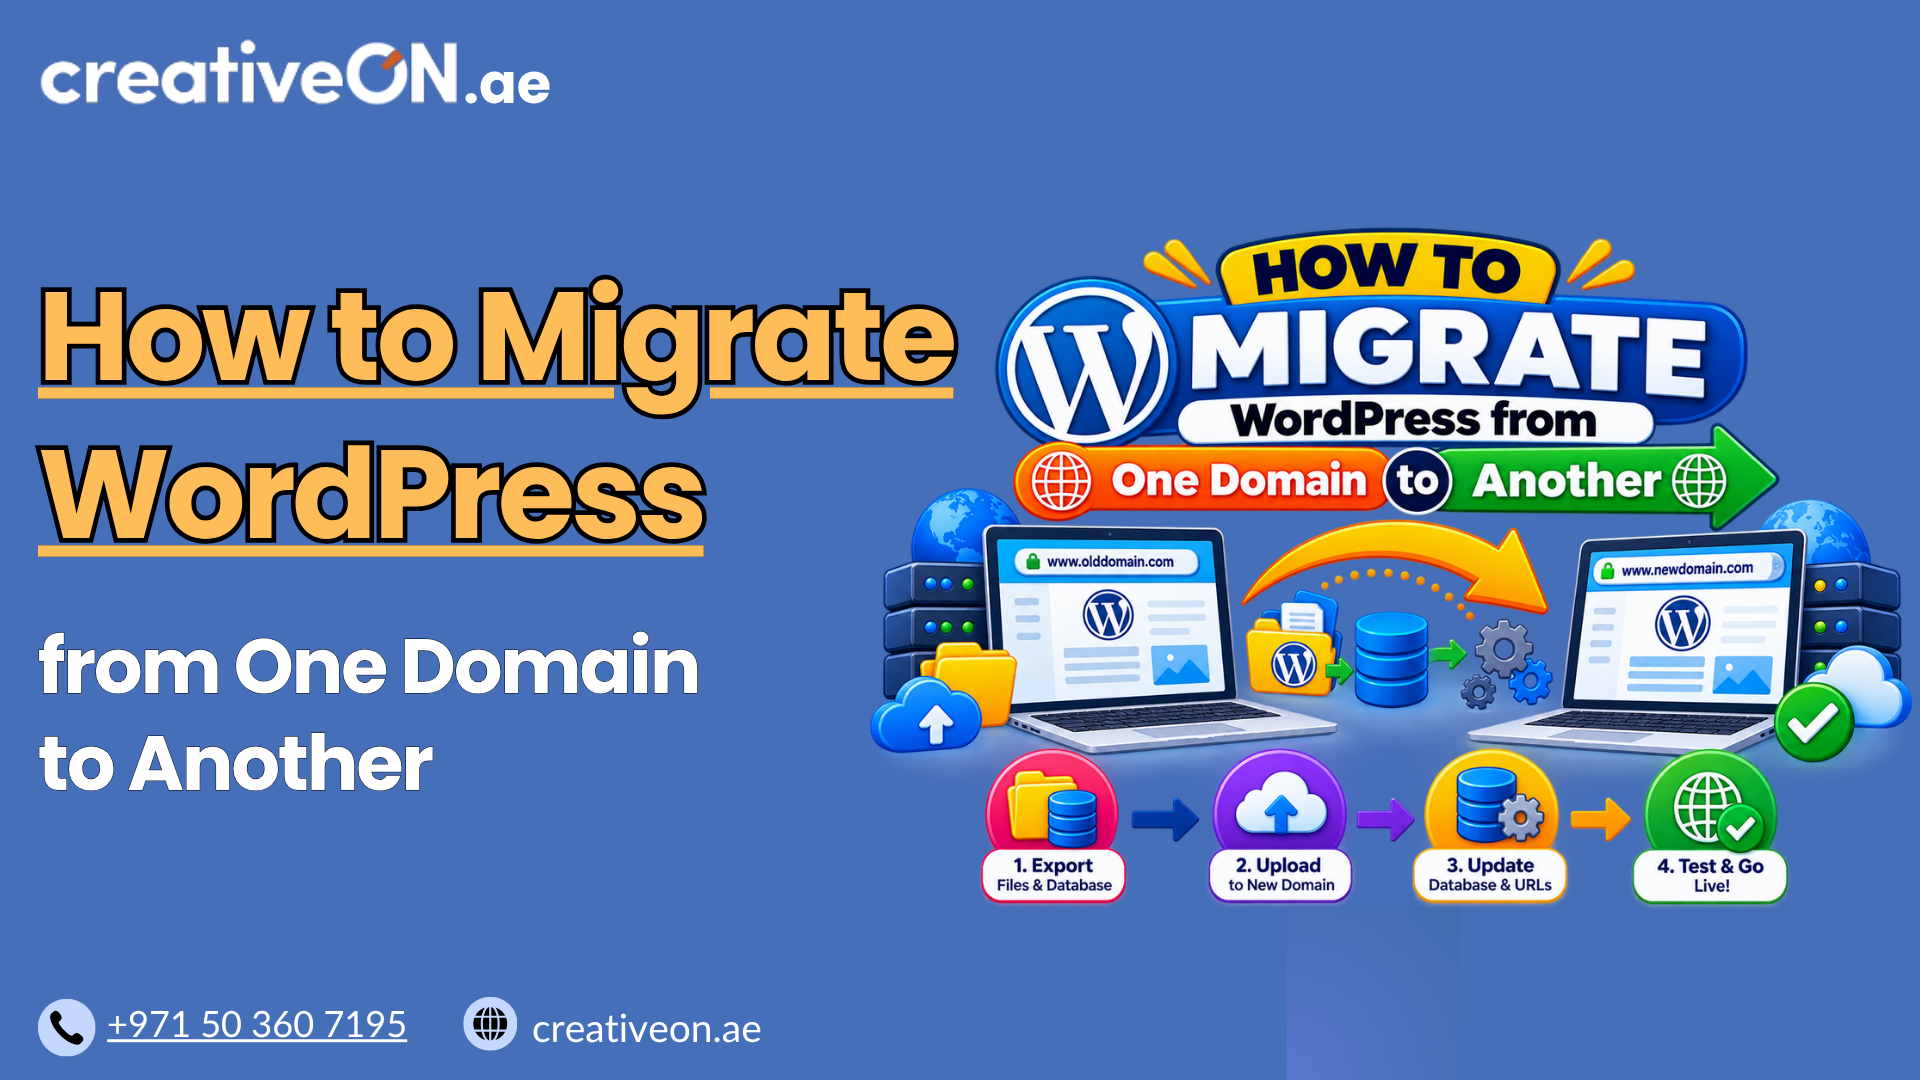
If you’re rebranding, moving from a staging domain to a live one, or replacing a domain that no longer fits your business, you’ll need to migrate your WordPress site to a new domain. Done carefully, this process protects your content, your SEO rankings, and your visitor experience.
This guide covers domain migration specifically — moving the same WordPress website from one domain to another (for example, oldsite.com → newsite.com) while keeping the site, content, and hosting environment otherwise unchanged. If you’re instead moving your site to a new hosting provider while keeping the same domain, that’s a different process with its own considerations, and worth handling as its own project.
Before You Start
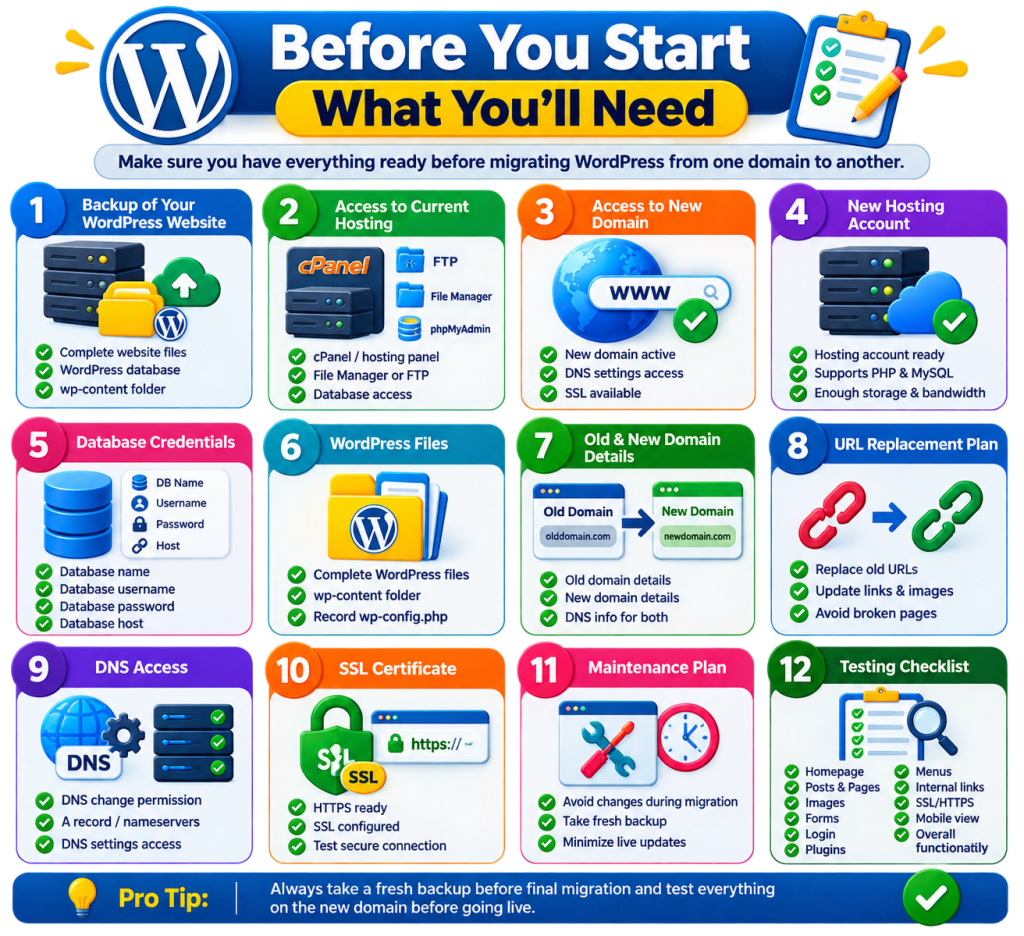
A little preparation prevents most migration problems. Before making any changes:
- Take a full backup of your WordPress database and all files, including themes, plugins, and uploads. This is your safety net if anything goes wrong.
- Confirm the new domain and hosting environment are ready, including PHP version and any required extensions.
- Confirm SSL is available for the new domain. The migrated site should launch on HTTPS.
- Record important URLs and settings from the current site, such as the site address, permalink structure, and any hardcoded links in menus or widgets.
- Keep the old domain active for a while after the move, even if only to host redirects — don’t let it expire immediately.
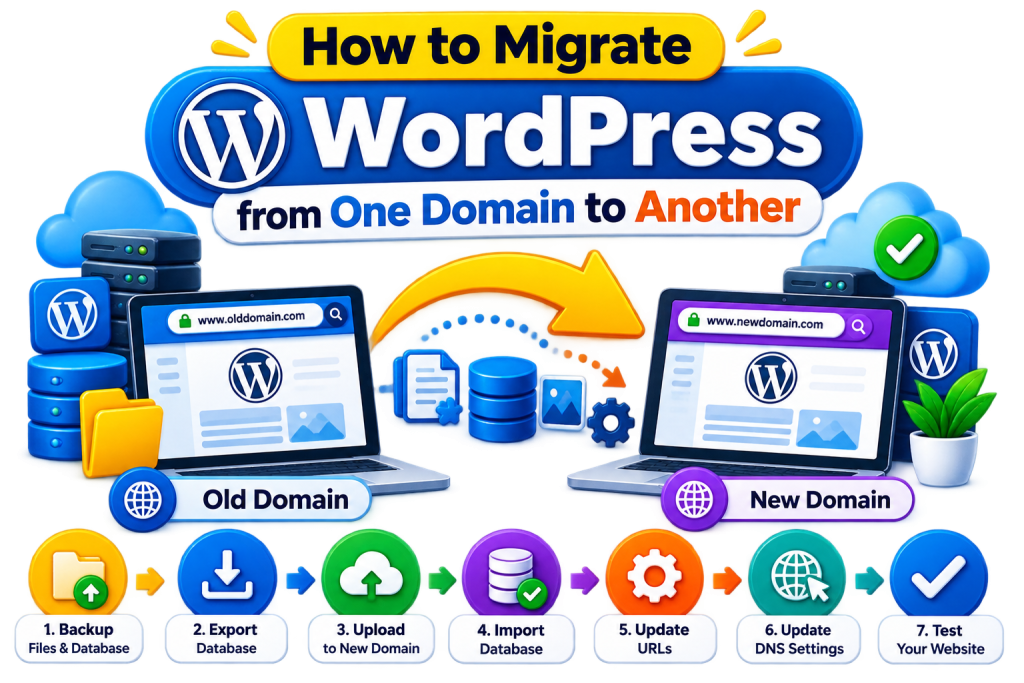
Step 1: Back Up Your Existing WordPress Site
Before touching anything, generate a complete backup — database and files together. Store it somewhere outside your hosting account (locally or in cloud storage) so you can recover the original site regardless of what happens during migration.
Step 2: Export the WordPress Database
Using phpMyAdmin or a similar tool in your hosting control panel, export your WordPress database as an .sql file. This contains your posts, pages, settings, and comments.
Step 3: Copy Your WordPress Files
Download a full copy of your WordPress installation, including the wp-content folder (themes, plugins, uploads) and wp-config.php. FTP or your host’s file manager both work well for this.
Step 4: Prepare the New Domain Environment
On the new domain, set up a fresh WordPress environment:
- Create a new database and database user.
- Upload your WordPress files to the new domain’s directory.
- Update wp-config.php with the new database name, username, and password.
If you need to preview or configure the site before DNS points to it, you can temporarily define these constants in wp-config.php:
define( ‘WP_HOME’, ‘https://newsite.com’ );
define( ‘WP_SITEURL’, ‘https://newsite.com’ );
These override the corresponding values stored in the database, which is useful for early testing — but remember they also take precedence over the WordPress dashboard’s URL fields while defined. Remove them once you’ve confirmed the database URLs are correctly updated, so you can manage the site normally from the dashboard.
Step 5: Import the Database
Import your .sql file into the new database you created in Step 4.
Step 6: Update the Site URLs
WordPress stores your site URL directly inside the database — not just in Settings — so every reference to the old domain needs to be updated to the new one. Use a WordPress-aware search-and-replace tool rather than a manual SQL find-and-replace.
This matters because WordPress plugins, widgets, and theme settings often store data in serialized structures. A simple text replacement can change stored string lengths and corrupt that data, breaking widgets or settings in ways that are hard to trace. A search-and-replace tool built for WordPress databases handles serialization correctly and avoids this problem.
Migration tip: If possible, keep your existing permalink structure unchanged during the move — for example, oldsite.com/blog/example/ should map to newsite.com/blog/example/. Changing the domain and the URL structure at the same time multiplies the number of redirects you need and makes troubleshooting far harder.
Step 7: Point DNS to the New Domain
Update your domain’s DNS records (typically the A record or CNAME) so the domain resolves to your new hosting server. DNS changes may take time to appear consistently across different networks and DNS resolvers — the actual timing depends on TTL settings and caching, so avoid treating any fixed window as a guarantee.
Step 8: Test the New Website
Before directing normal traffic to the new domain, test it thoroughly on the new hosting environment where your setup allows this. Check:
- Homepage and internal pages/posts
- Images and other media
- Forms and any interactive elements
- Login and admin access
- Plugin functionality
- HTTPS is active with no mixed-content warnings
- No unexpected 404 errors on key pages
Step 9: Set Up 301 Redirects
Once the new domain is confirmed working, set up 301 (permanent) redirects from every old URL to its equivalent new URL — not a blanket redirect to the new homepage.
A 301 redirect tells browsers and search engines that the old URL has moved permanently. Correct, page-to-page redirects help preserve the signals associated with your old URLs and guide both users and crawlers to the right new pages.
Step 10: Update Search Engines and External Services
Add the new domain to Google Search Console and Bing Webmaster Tools, verify ownership, and submit an updated XML sitemap. If the entire site is permanently moving to a new domain, use Google’s Change of Address tool where applicable. Also update your analytics tracking and any third-party services (CDN, email marketing, forms) that reference the old domain.
Common Mistakes to Avoid
- Skipping the backup. Even experienced site owners run into unexpected issues.
- Manual find-and-replace on the database, which can corrupt serialized data.
- No 301 redirects, leaving visitors and crawlers at dead ends.
- Changing the URL structure and domain at the same time, multiplying the redirect work.
- Letting the old domain expire immediately, cutting off redirects too early.
- Forgetting SSL on the new domain, leaving the site insecure or showing mixed-content warnings.