
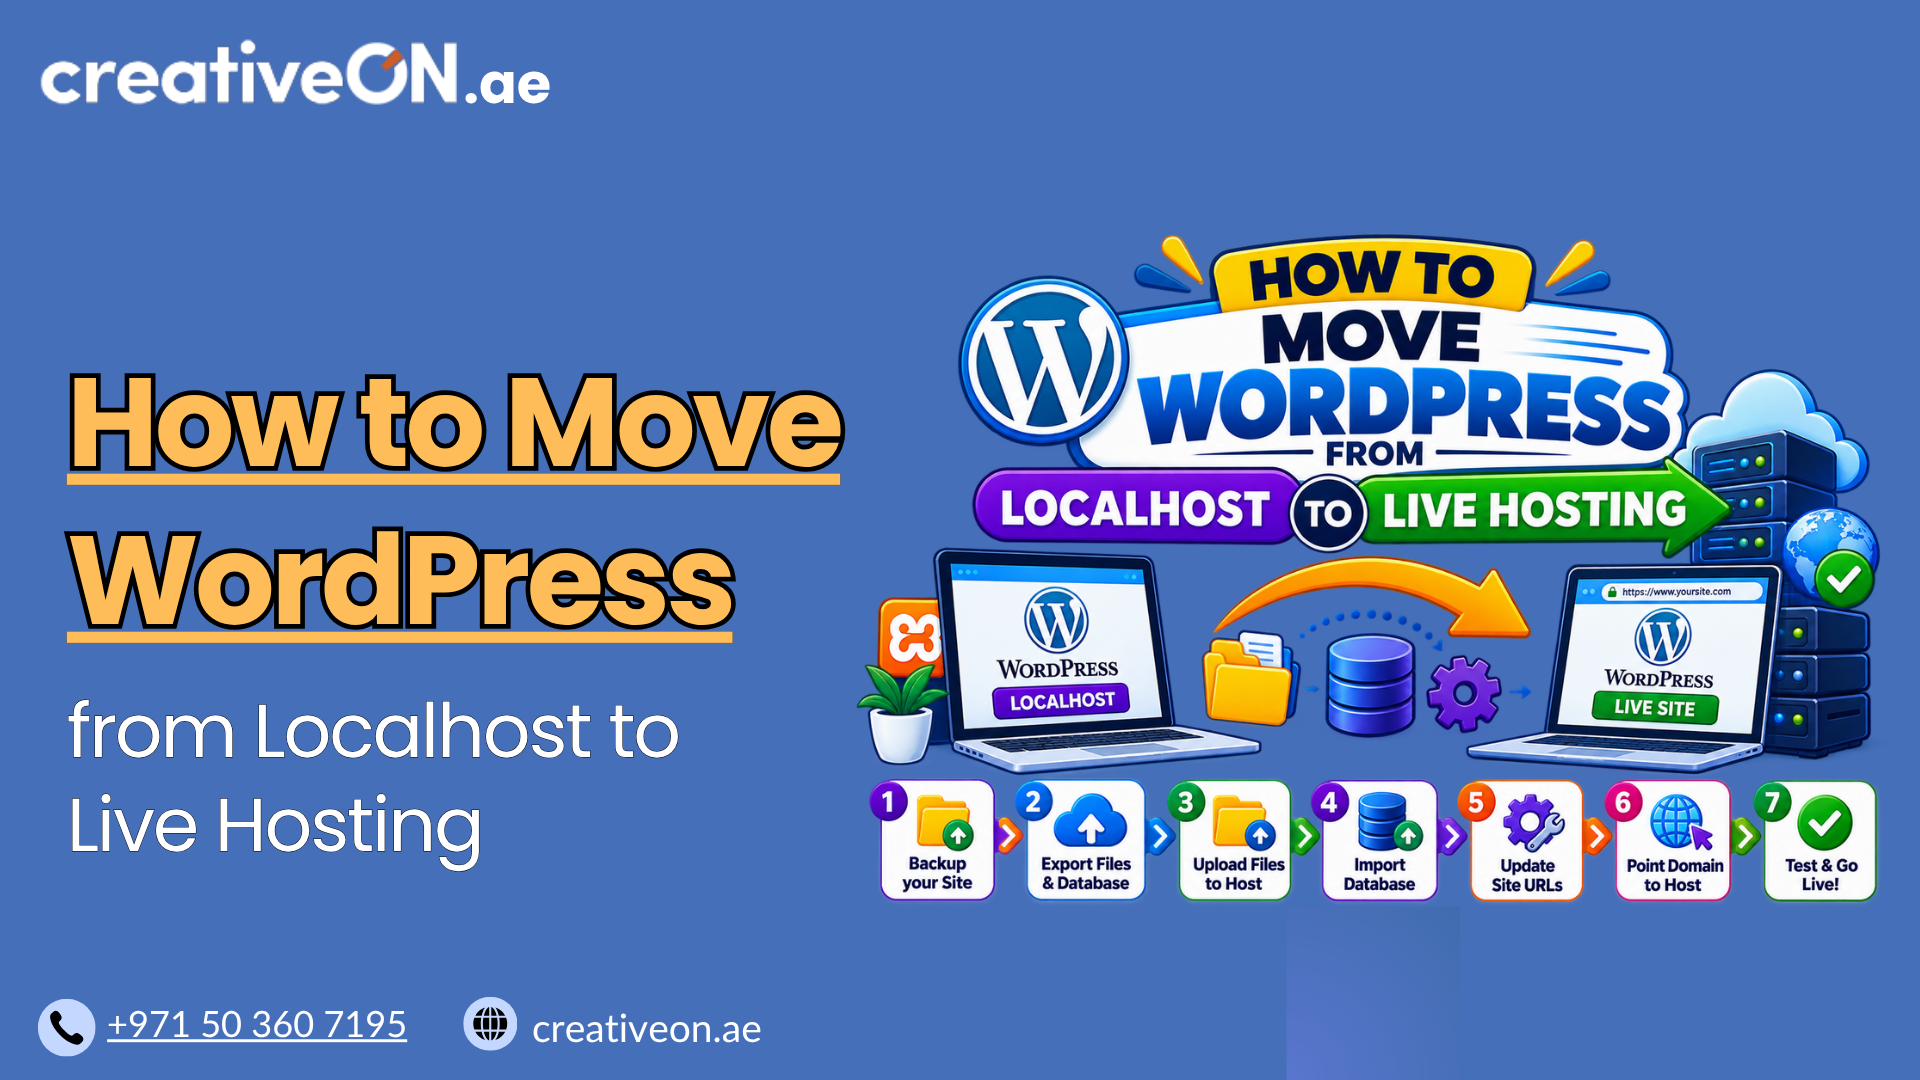
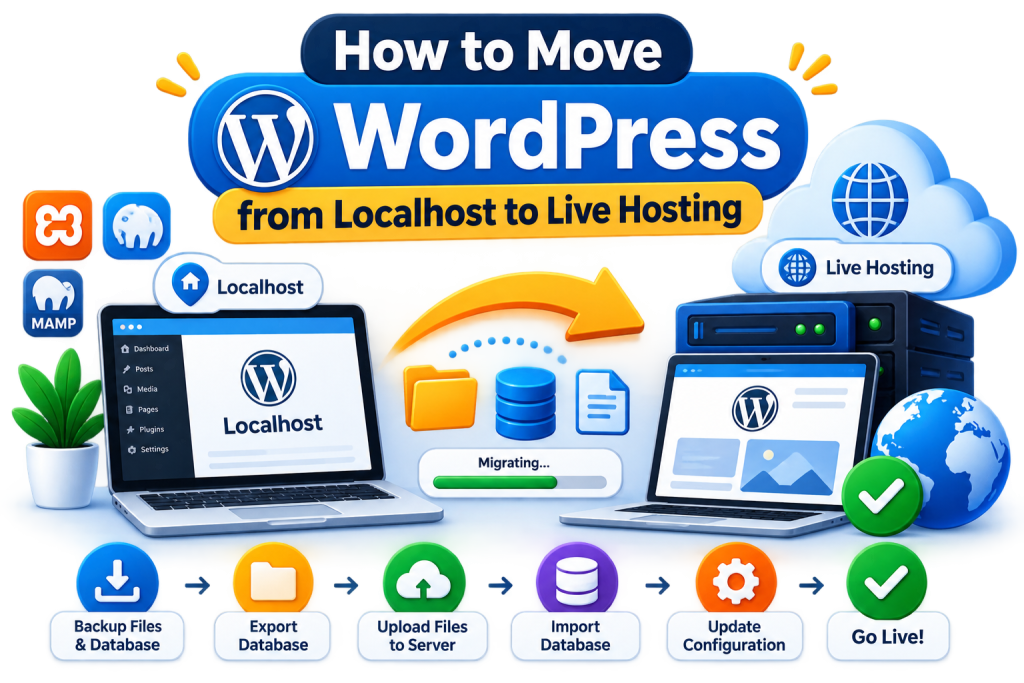
Moving WordPress from localhost to live hosting lets you take a website you’ve built and tested privately and make it accessible to real visitors. The process is straightforward, but missing a step can cause broken images, localhost redirects, database errors, or missing content.
The key is to move both the WordPress files and database, update references from your local URL to your live domain, and test everything before launch.
This guide covers moving a WordPress site from a local development environment — such as XAMPP, WAMP, MAMP, or Local — to a live hosting account. If your website is already live and you’re moving it to a different hosting provider, that’s a different process; see our WordPress Migration Guide instead.
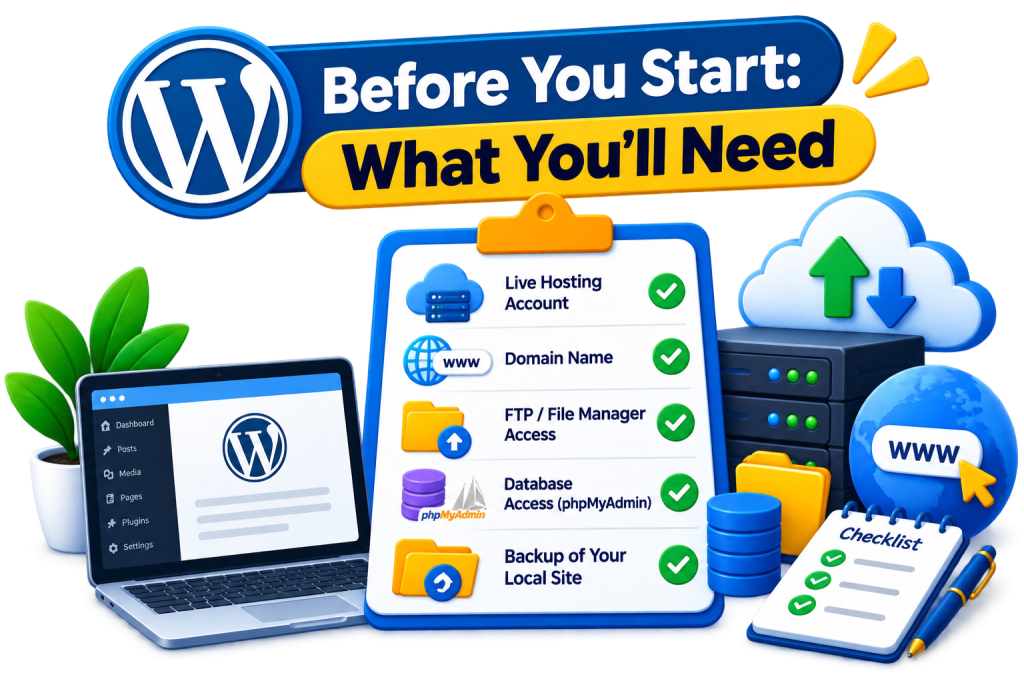
Before You Start: What You’ll Need
- Live hosting account with WordPress hosting already active
- FTP/SFTP access or File Manager access to your hosting account
- Database access (phpMyAdmin or similar) on both localhost and the live server
- A full backup of your localhost site — files and database
Don’t delete your local copy once you start uploading. Keep it intact until you’ve fully confirmed the live site is working.
Step 1: Export the Local WordPress Database
Your database holds your posts, pages, settings, and content, so this is the most important file in the process.
- Open phpMyAdmin (or your local database tool).
- Select your WordPress database.
- Click Export, choose the Quick method, and select SQL as the format.
- Download the .sql file.
Step 2: Upload Your WordPress Files
- Locate your WordPress installation folder on localhost — commonly inside htdocs, www, or a similar directory depending on your local server tool.
- Compress the folder into a .zip file, including wp-content, wp-admin, wp-includes, and the root files such as wp-config.php.
- Upload the zip to your hosting account via FTP/SFTP or File Manager, then extract it there.
When extracting, make sure the WordPress files land directly in the domain’s document root (usually public_html) rather than inside an extra subfolder — otherwise your site may load at example.com/wordpress/ instead of example.com/.
Step 3: Create and Import the Live Database
- In your hosting control panel, create a new MySQL database, plus a database user and password, and grant that user full privileges on the database.
- Note the database name, username, password, and host.
- Open phpMyAdmin on the live server, select the new database, click Import, and upload the .sql file from Step 1.
Step 4: Update wp-config.php
Your wp-config.php file tells WordPress which database to connect to. Update it to match your live database credentials:
define( ‘DB_NAME’, ‘your_live_database_name’ );
define( ‘DB_USER’, ‘your_live_database_user’ );
define( ‘DB_PASSWORD’, ‘your_live_database_password’ );
define( ‘DB_HOST’, ‘your_live_database_host’ );
Step 5: Replace the Localhost URL
Your database can still contain references to your local URL, such as http://localhost/mysite, that need updating to your live domain, such as https://example.com. This mainly affects the site URL, internal links, media URLs, and some plugin or theme settings stored in the database.
Example:
Local: http://localhost/mysite
Live: https://example.com
Use a WordPress-aware search-and-replace tool rather than a blanket SQL find-and-replace in phpMyAdmin. WordPress plugins and themes often store serialized data, where string lengths are recorded alongside the value — a plain text replacement can change that length without updating the record, corrupting the data. Most hosting panels and migration plugins include a built-in search-and-replace feature that handles this safely.
Step 6: Refresh Permalinks and Test the Site
Visit Settings > Permalinks in wp-admin and click Save — this alone fixes most broken URL structures after a migration.
Then check:
- Homepage and internal pages
- Images and media
- Navigation menus
- Contact forms and search
- Login access at /wp-admin
- Plugin and theme functionality
If something’s off, it’s almost always a file permission issue, an incomplete URL replacement, or cached content — all fixable without starting over.
Step 7: Enable HTTPS and Complete Final Checks
Once the site is confirmed working, enable HTTPS/SSL. This protects data exchanged between visitors and your site and avoids browser security warnings — it’s also a standard practice for modern sites and a lightweight ranking factor, though not something that damages rankings if it’s set up a little after launch.
If you’re launching a brand-new site, you can often prepare and test your hosting environment before your domain’s DNS is fully pointed to it, depending on your host’s setup. If you’re replacing an already-live website, use a maintenance window during the final cutover so visitors aren’t hitting a half-migrated site.
Common Problems After Moving WordPress to Live Hosting
Site still redirects to localhost — usually means the site URL wasn’t fully replaced in the database, or the browser is showing a cached version.
“Error establishing a database connection” — check that wp-config.php credentials exactly match the live database.
Images or CSS missing — often a leftover localhost reference in media URLs, or files that didn’t extract into the right folder.
Pages return 404 errors — resave permalinks under Settings > Permalinks.
Some plugins or themes don’t work correctly — check for any settings stored with corrupted serialized data from an unsafe URL replacement, and re-save the affected settings if needed.
Best Practices
- Back up both the local and live versions before making changes.
- Keep your local copy until the live site is fully verified.
- Test thoroughly before pointing your domain live or announcing the launch.
- Enable HTTPS as soon as the site is confirmed working.