Why Connecting Your Domain to WordPress Hosting Matters
Your domain name is the address visitors type into their browser, while your WordPress hosting stores your website files and database. Connecting the domain ensures that requests for your website are directed to the correct hosting server. A successful connection helps you: Make your WordPress website publicly accessible. Prepare your website for an SSL certificate […]
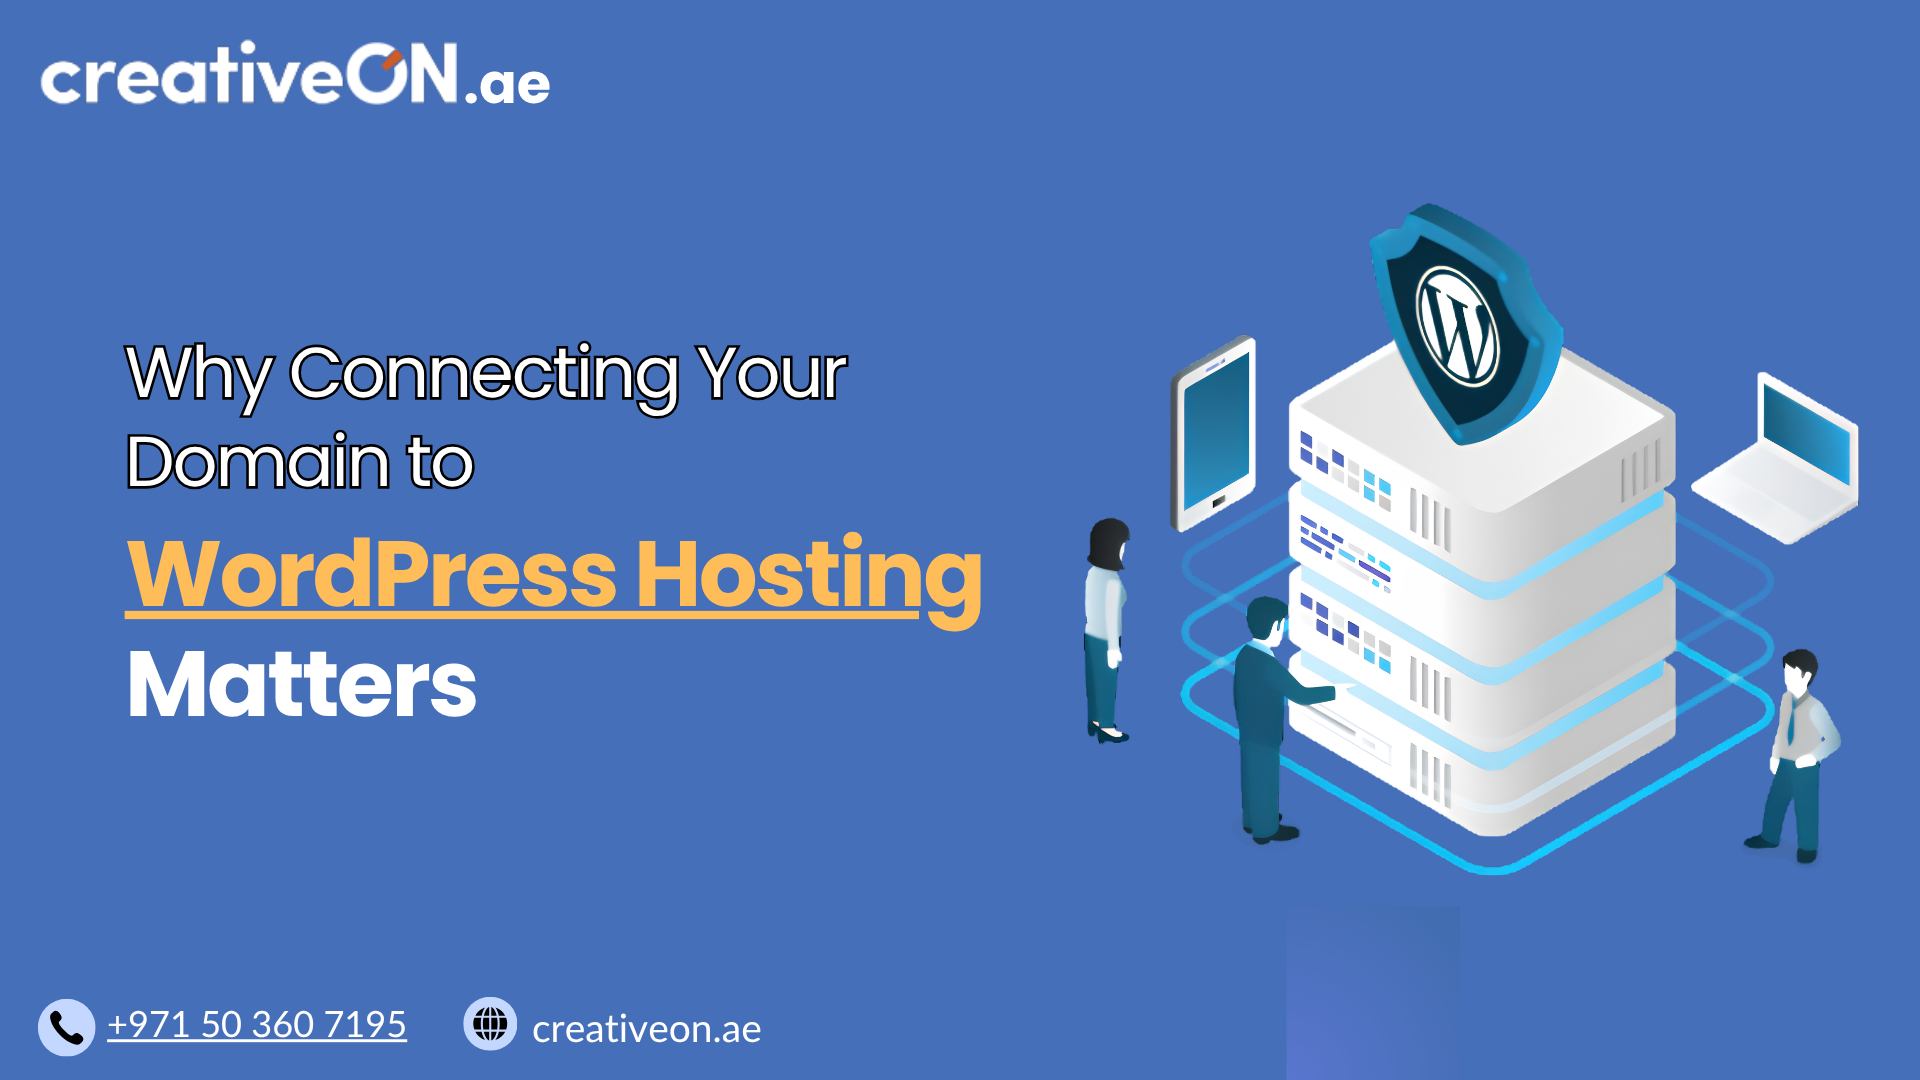
Your domain name is the address visitors type into their browser, while your WordPress hosting stores your website files and database. Connecting the domain ensures that requests for your website are directed to the correct hosting server.
A successful connection helps you:
- Make your WordPress website publicly accessible.
- Prepare your website for an SSL certificate (HTTPS).
- Ensure visitors reach the correct hosting account.
- Avoid website downtime caused by incorrect DNS settings.
- Complete the final step before launching your website.
Without this connection, your domain may display a parking page, an old website, or an error message instead of your WordPress site.
Before You Begin
Before updating any settings, make sure you have access to the following:
- Your domain registrar account.
- Your WordPress hosting control panel.
- The nameservers or server IP address provided by your hosting company.
- Administrator access to manage your domain settings.
It’s also a good idea to save a copy of your existing DNS settings before making changes. If you ever need to restore the previous configuration, having a backup of your DNS records can save time.
When Do You Need to Connect a Domain?
You typically need to connect your domain in the following situations:
- You purchased your domain and WordPress hosting from different providers.
- You’re moving your website to a new WordPress hosting provider.
- You’ve registered a new domain for a new WordPress website.
- You’re pointing an existing domain to a newly created hosting account.
If both your domain and WordPress hosting were purchased from the same provider, the connection may already be configured automatically. Even so, it’s worth confirming that the domain points to the correct hosting account before launching your website.
Choose the Right Connection Method
There are two common ways to connect a domain to WordPress hosting.
Situation | Recommended Method |
Domain and hosting are with the same provider | Usually configured automatically or by using the provider’s default nameservers |
Domain is registered with another company | Update the domain’s nameservers |
You want to keep DNS management at your registrar | Update DNS records (A Record and CNAME) |
You use third-party DNS services such as Cloudflare | Update the required DNS records within that service |
For most website owners, changing nameservers is the easiest and recommended option because your hosting provider manages all DNS settings in one place.
Method 1: Connect Using Nameservers (Recommended)
Using your hosting provider’s nameservers is the simplest way to connect your domain to WordPress hosting. This method allows your hosting provider to manage the DNS records needed for your website.
Step 1: Locate Your Hosting Nameservers
After purchasing your WordPress hosting plan, your hosting provider will supply two or more nameservers.
For example:
ns1.examplehost.com
ns2.examplehost.com
These nameservers are typically included in:
- Your hosting welcome email.
- Your hosting client area.
- Your hosting control panel.
Always copy the nameservers exactly as provided. Even a small typing mistake can prevent your domain from connecting successfully.
Step 2: Sign In to Your Domain Registrar
Log in to the account where your domain name is registered.
Locate the section labeled something similar to:
- Domain Management
- DNS Management
- Nameservers
- DNS Settings
The wording varies between registrars, but the process is generally similar.
Step 3: Replace the Existing Nameservers
Choose the option to use Custom Nameservers.
Replace the existing entries with the nameservers supplied by your WordPress hosting provider.
Save your changes.
Once saved, your registrar begins publishing the updated information across the global DNS network.
Step 4: Allow Time for DNS Propagation
The changes do not take effect instantly.
DNS propagation usually completes:
- Within 30 minutes to several hours for many users.
- Within 24 hours in most cases.
- Occasionally up to 48 hours, depending on internet service providers and DNS caching.
During this period, some visitors may see the new website while others continue to see the previous version. This temporary inconsistency is expected and normally resolves without further action.
Best Practice: Avoid making additional DNS changes while propagation is in progress, as this can make troubleshooting more difficult.
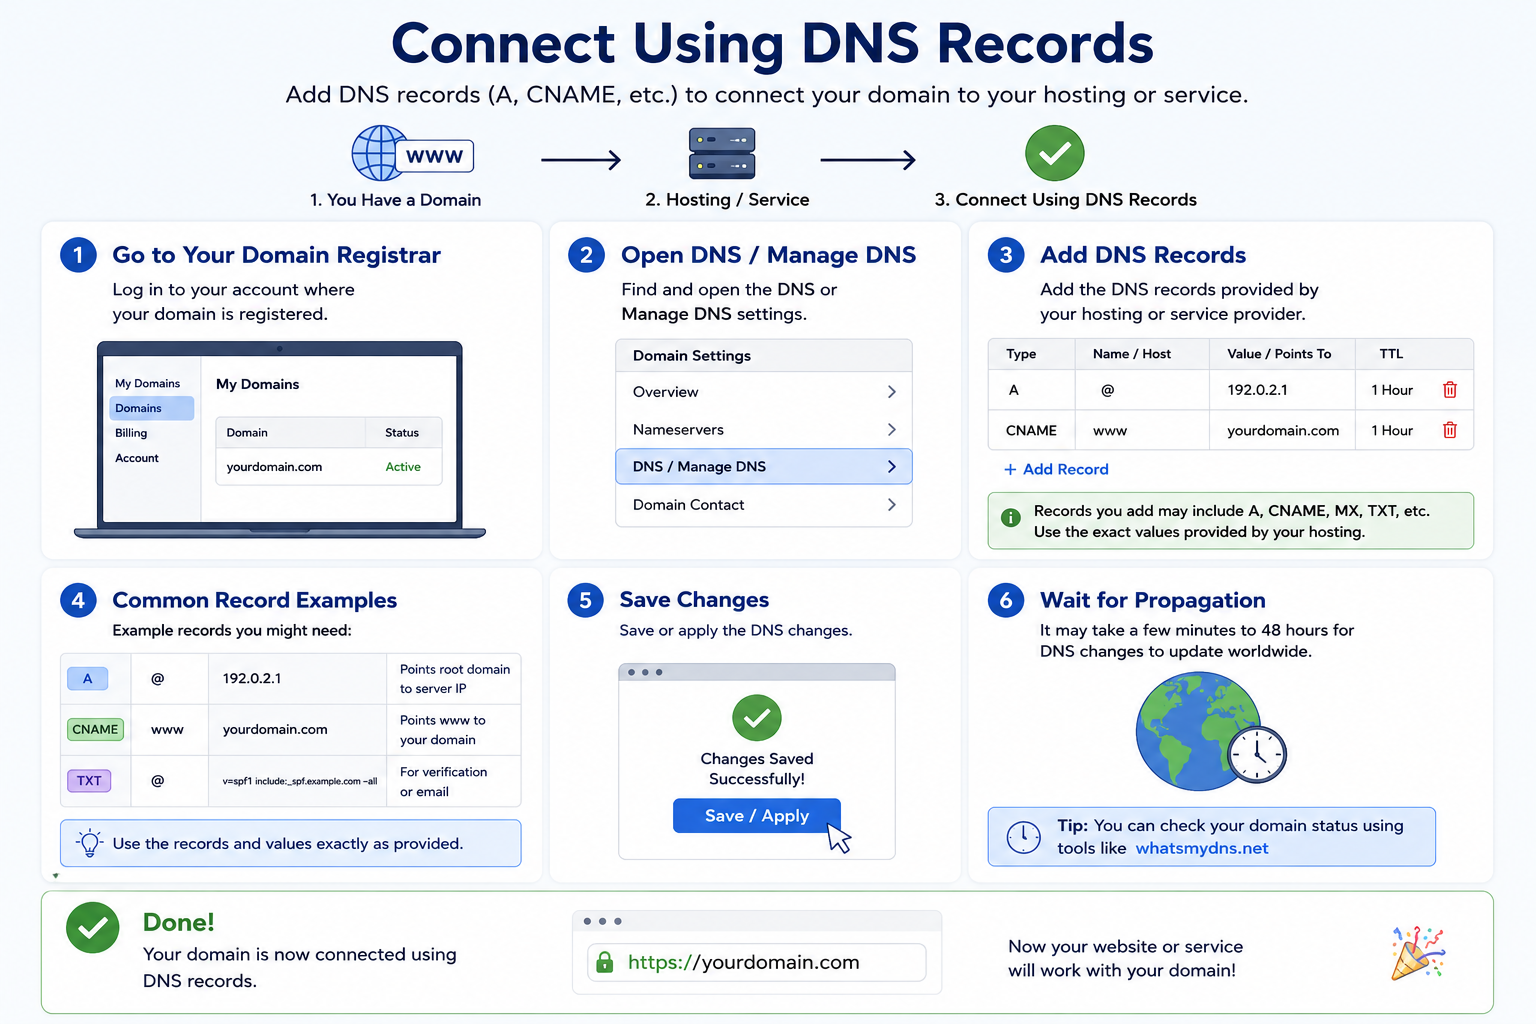
Method 2: Connect Using DNS Records
Some website owners prefer to manage DNS records through their domain registrar or a third-party DNS service instead of changing nameservers.
In this case, you’ll update individual DNS records provided by your hosting company.
Common records include:
Record Type | Purpose |
A Record | Points your domain to your hosting server’s IPv4 address. |
AAAA Record | Points your domain to an IPv6 address if supported by your hosting provider. |
CNAME Record | Directs subdomains, such as www, to your primary domain. |
Your hosting provider will supply the exact values required.
This method is commonly used when:
- You use professional email services with existing DNS records.
- Your organization manages DNS centrally.
- You use a DNS provider like Cloudflare.
Unless you have a specific reason to manage DNS manually, updating nameservers is usually the simpler option for most WordPress websites.

Add the Domain to Your WordPress Hosting Account
Updating nameservers or DNS records only tells the internet where your website should be found. You must also ensure that your hosting account recognizes the domain.
Depending on your hosting control panel, you may need to add the domain as:
- Primary Domain
- Addon Domain
- Parked Domain
- Alias Domain
If your hosting account was created specifically for this domain, it may already be configured automatically.
If you’re unsure, check your hosting dashboard to confirm the domain appears in your list of hosted domains.
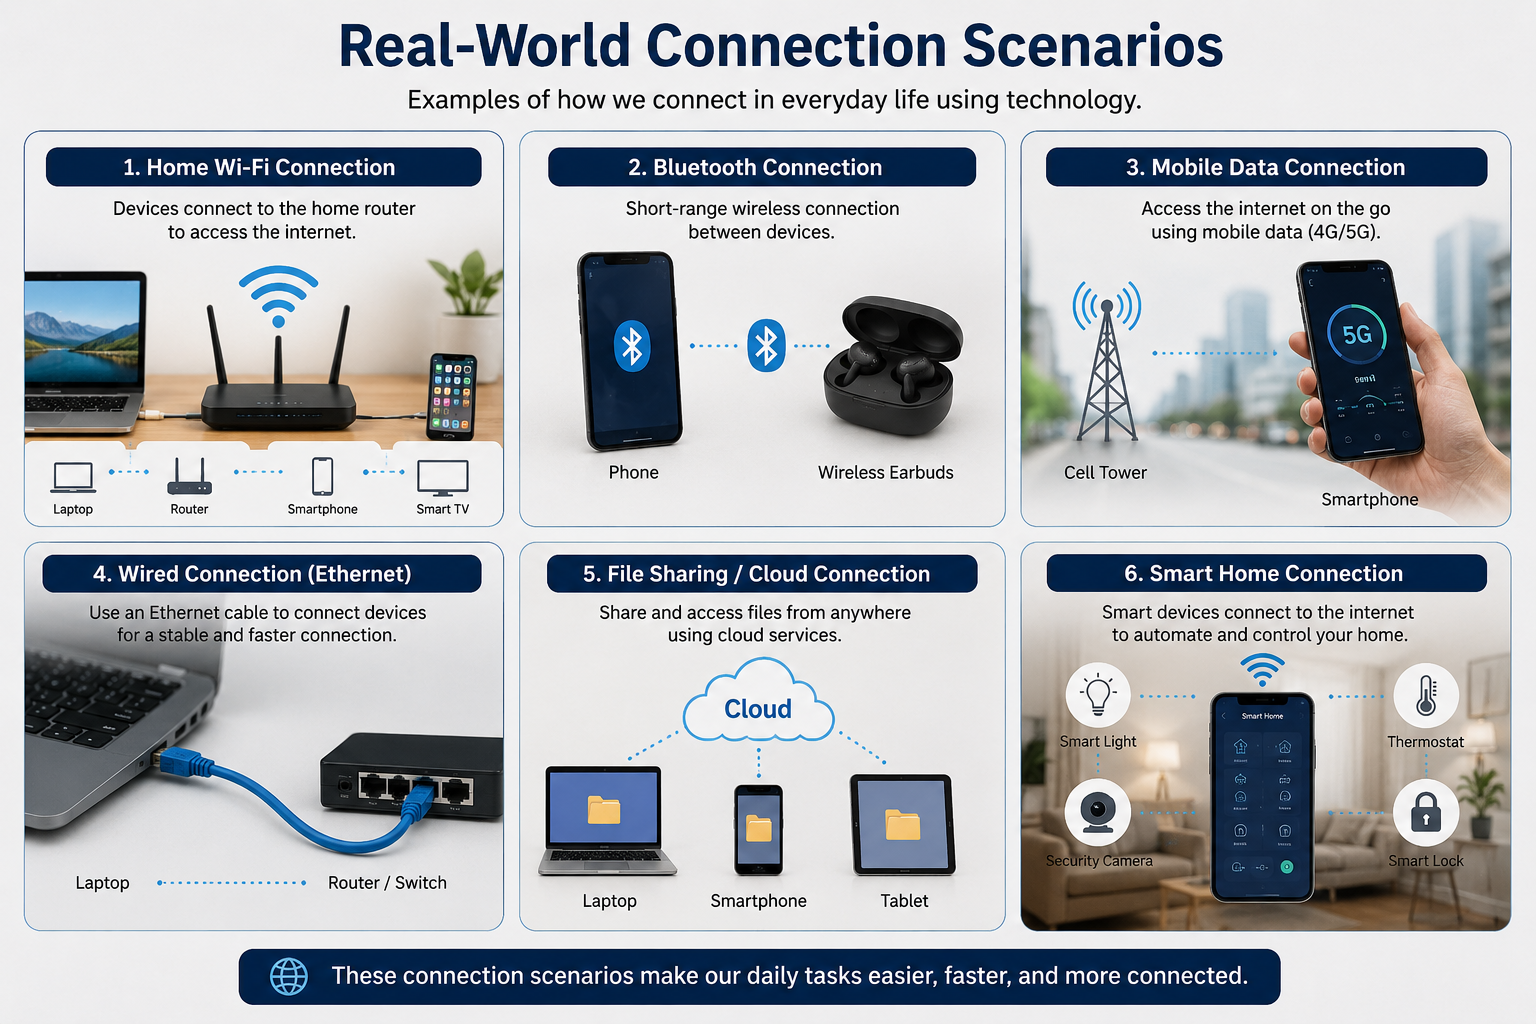
Real-World Connection Scenarios
Although the process is similar, the exact steps depend on where your domain and hosting are managed.
Scenario 1: Domain and Hosting with the Same Provider
In many cases, no manual configuration is required because the provider automatically connects the domain during account setup.
You should still verify that the domain has been assigned to the correct hosting account before installing or launching WordPress.
Scenario 2: Domain Registered Elsewhere
If your domain is registered with one company and your WordPress hosting is with another, update the nameservers or DNS records at your domain registrar using the information provided by your hosting company.
This is one of the most common website setups and works without any limitations when configured correctly.
Scenario 3: Moving to a New WordPress Hosting Provider
If you’re changing hosting providers while keeping the same domain, update your nameservers or DNS records only after your website has been migrated successfully.
Changing DNS before the migration is complete may result in visitors seeing an incomplete or unavailable website.
For a complete migration process, see the dedicated WordPress Migration Guide.
Install WordPress (If It Isn’t Already Installed)
Once your domain points to the correct hosting account, you can install WordPress if it hasn’t already been installed.
Most WordPress hosting providers offer one-click WordPress installation, allowing you to get started in just a few minutes.
This guide focuses on connecting your domain. For detailed installation instructions, refer to How to Install WordPress on Hosting (Step-by-Step Guide).
How to Verify the Domain Connection
After DNS propagation has completed, verify that the connection is working correctly.
Start by opening your domain in a web browser.
Then confirm that:
- Your WordPress homepage loads correctly.
- The website displays the expected content.
- Images, menus, and links work properly.
- You can access the WordPress admin dashboard.
- Your domain loads consistently with and without www, if configured.
For additional verification, you can use simple network tools such as ping or nslookup to confirm that your domain resolves to the correct server IP address. Online DNS propagation checkers can also help determine whether your updated records have propagated across different regions.
If your website is loading correctly and your domain resolves to the correct server, the connection has been completed successfully.
Common Problems When Connecting a Domain to WordPress Hosting
Even when the connection process is completed correctly, a few common issues can prevent your website from loading as expected. Most of these problems are easy to identify and resolve.
The Website Shows a Default Hosting Page
If your domain loads a generic hosting page instead of your website, the domain is likely pointing to the server, but WordPress has not been associated with the correct hosting account.
Verify that:
- The domain has been added to your hosting account.
- WordPress is installed in the correct document root.
- The correct domain is assigned as the primary or addon domain.
If you’ve recently migrated your website, ensure the migration is complete before updating your domain settings.
DNS Changes Haven’t Fully Propagated
DNS updates are not immediate. While some users may see the new website within an hour, others may continue seeing the previous version until their local DNS cache refreshes.
If your website isn’t loading yet:
- Wait up to 48 hours before assuming something is wrong.
- Test the website using a different internet connection or mobile network.
- Clear your browser cache if necessary.
Avoid repeatedly changing your DNS settings during this period, as doing so can complicate troubleshooting.
Incorrect Nameservers
One of the most common mistakes is entering incorrect nameservers.
Even a missing character or extra space can prevent your domain from connecting.
Before saving, verify that every nameserver exactly matches the values supplied by your WordPress hosting provider.
Incorrect DNS Records
If you’re using manual DNS records instead of nameservers, double-check that:
- The A Record points to the correct server IP address.
- The CNAME Record for www is configured correctly.
- Old or conflicting DNS records have been removed where appropriate.
Incorrect records often result in websites loading intermittently or not loading at all.
SSL Certificate Isn’t Working
After your domain begins resolving correctly, your SSL certificate may still take a short time to activate.
If your website displays a security warning:
- Confirm the domain points to the correct hosting server.
- Verify that the SSL certificate has been issued.
- Wait a little longer if the certificate is being provisioned automatically.
Many managed WordPress hosting providers automatically issue and install SSL certificates after DNS propagation completes.
For complete SSL configuration instructions, see the dedicated SSL for WordPress Guide.
Redirect Loops
If your browser reports “Too Many Redirects,” it usually indicates a configuration mismatch.
Common causes include:
- Incorrect WordPress Site URL settings.
- SSL forcing HTTPS before the certificate is active.
- Conflicting redirect rules in the hosting control panel.
- Redirect rules added by plugins.
Resolve one issue at a time rather than changing multiple settings simultaneously.
Website Works Without WWW but Not With WWW
Sometimes the root domain works correctly, but www.example.com does not.
This usually indicates that the required CNAME or DNS record hasn’t been configured properly.
Review your DNS settings to ensure both versions of the domain are supported.
Best Practices for Connecting Your Domain
Following a few simple best practices can help you avoid unnecessary downtime and make future website management easier.
Keep a Backup of Existing DNS Records
Before making any DNS changes, save a copy of your current records.
This makes it much easier to restore your previous configuration if needed.
Use Only One Connection Method
Choose either:
- Hosting nameservers, or
- Manual DNS records.
Mixing both approaches often creates conflicting configurations.
Verify Every Entry Before Saving
DNS settings are sensitive.
Always double-check:
- Server IP addresses
- Nameservers
- Record types
- Typographical errors
Taking a few extra minutes can prevent hours of troubleshooting.
Minimize DNS Changes During Propagation
Every additional DNS change restarts portions of the propagation process.
Once you’ve updated your settings, allow sufficient time before making further modifications.
Confirm HTTPS After Connection
Once your domain resolves correctly:
- Verify that your SSL certificate is active.
- Visit the HTTPS version of your website.
- Ensure there are no browser security warnings.
A secure connection protects your visitors and is now considered a standard requirement for modern websites.
Review Your WordPress URLs
After connecting your domain, confirm that both the WordPress Address (URL) and Site Address (URL) inside WordPress match your chosen domain.
Incorrect URL settings can lead to login problems or redirect errors.
Common Mistakes to Avoid
Many connection issues result from simple oversights rather than technical problems.
Avoid these common mistakes:
- Updating the wrong domain.
- Entering incorrect nameservers.
- Forgetting to add the domain to the hosting account.
- Removing important DNS records accidentally.
- Testing the website before propagation has completed.
- Changing multiple DNS settings at the same time.
- Ignoring SSL configuration after the domain is connected.
Working methodically reduces the likelihood of errors and simplifies troubleshooting if something doesn’t work as expected.
Related WordPress Hosting Guides
Connecting your domain is only one part of launching a successful WordPress website. As your site grows, you may find these related guides helpful:
- How to Install WordPress on Hosting (Step-by-Step Guide) — Learn how to install WordPress after your domain is connected.
- Managed WordPress Hosting Explained: Is It Worth It? — Understand when managed hosting is the right choice.
- WordPress SSL Certificate Guide — Secure your website with HTTPS after the domain is connected.
- WordPress Backup Best Practices — Protect your website by creating reliable backups.
- WordPress Migration Guide — Move an existing WordPress website to a new hosting provider safely.
Each guide explores its own topic in detail without overlapping the purpose of this article.