How to Password Protect a WordPress Page
Introduction Not every page on your website needs to be publicly accessible. You may have a client resource page, a private business announcement, a project preview, or information that should only be available to selected visitors. WordPress includes a built-in feature that allows you to password protect a WordPress page without installing an additional plugin. […]
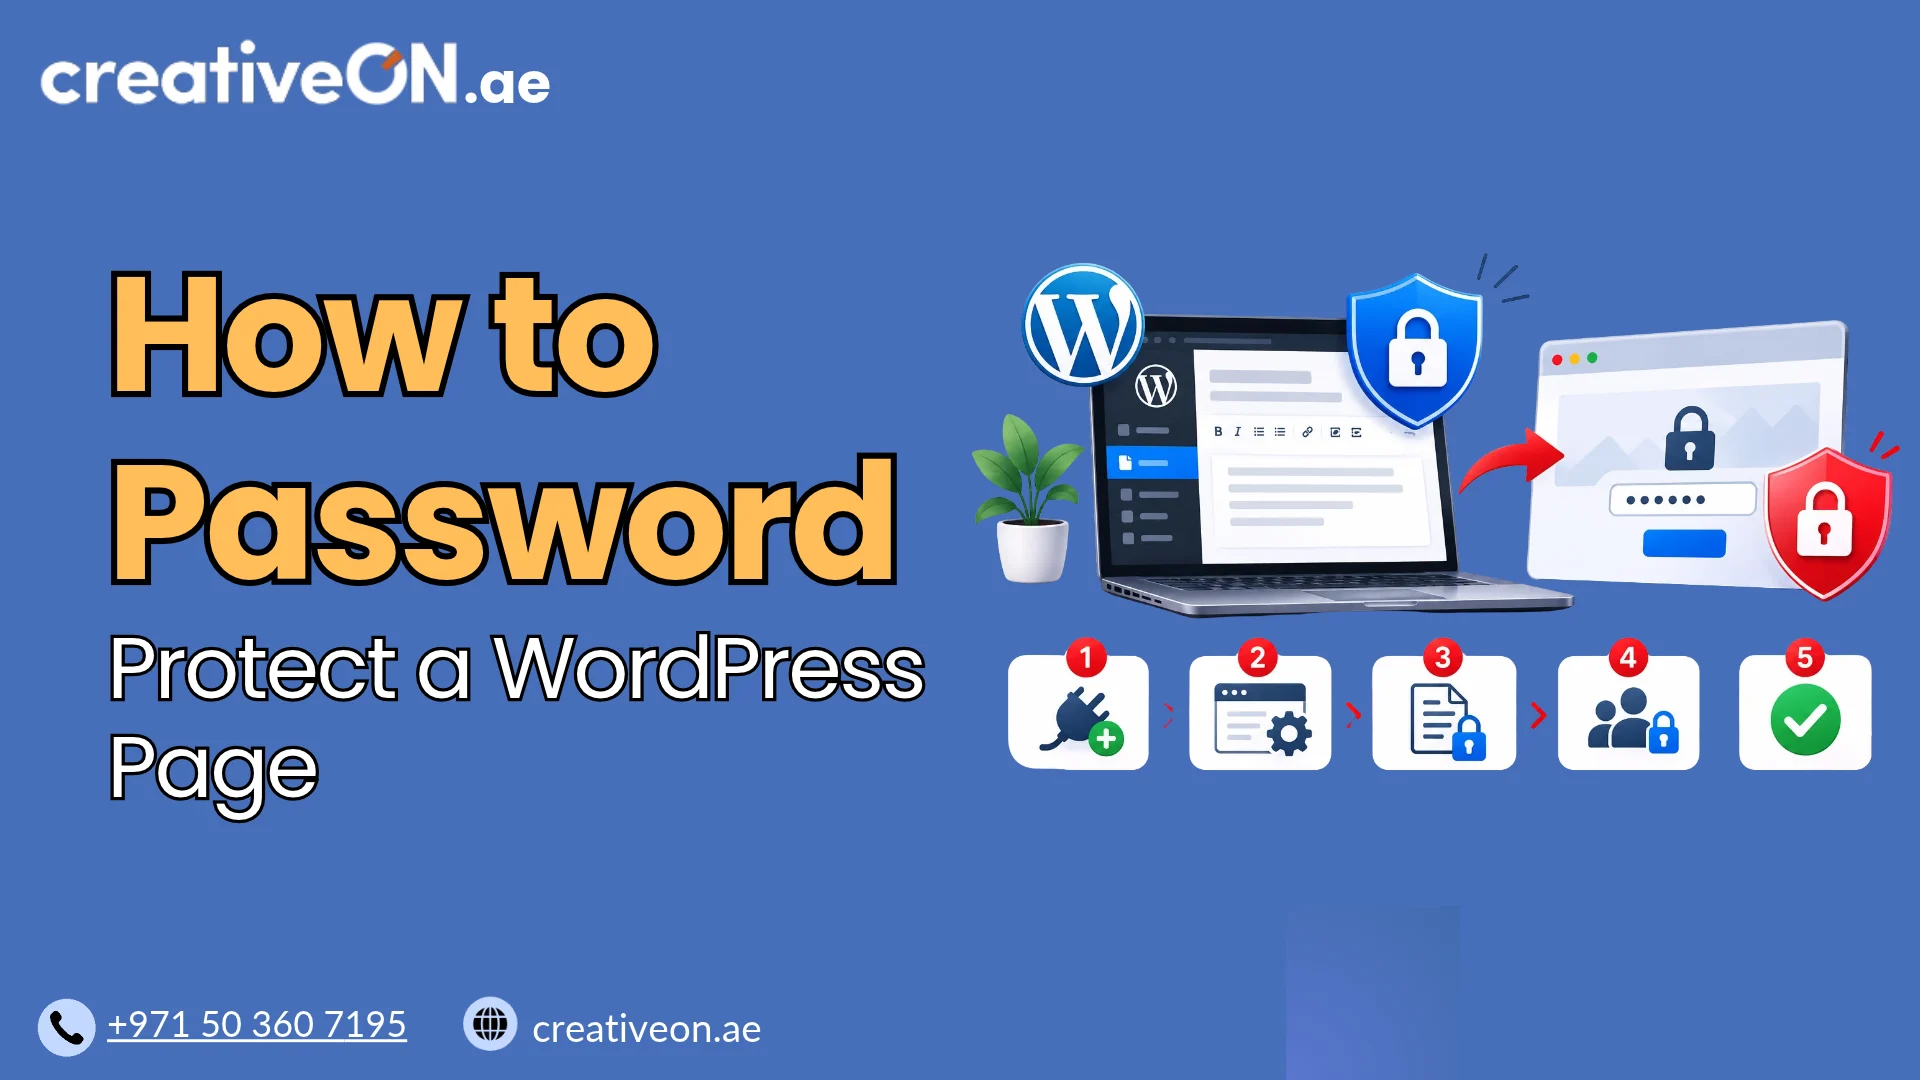
Introduction
Not every page on your website needs to be publicly accessible. You may have a client resource page, a private business announcement, a project preview, or information that should only be available to selected visitors.
WordPress includes a built-in feature that allows you to password protect a WordPress page without installing an additional plugin. You can enable password protection directly from the page editor and share the password with people who need access.
In this guide, you’ll learn how to password protect a WordPress page, how visitors access protected content, how to remove password protection, and what limitations you should understand before using this feature.
Why Should You Password Protect a WordPress Page?
Password protection is useful when you want to restrict access to specific website content without creating individual user accounts.
For example, you might want to:
- Share a project preview with a client.
- Provide private resources to selected customers.
- Display a temporary business announcement.
- Share a proposal or presentation with a business partner.
- Make selected content available to employees.
- Restrict access to a page containing information intended for a specific audience.
The main advantage is simplicity. You don’t need a membership system or separate user accounts when a shared password is sufficient.
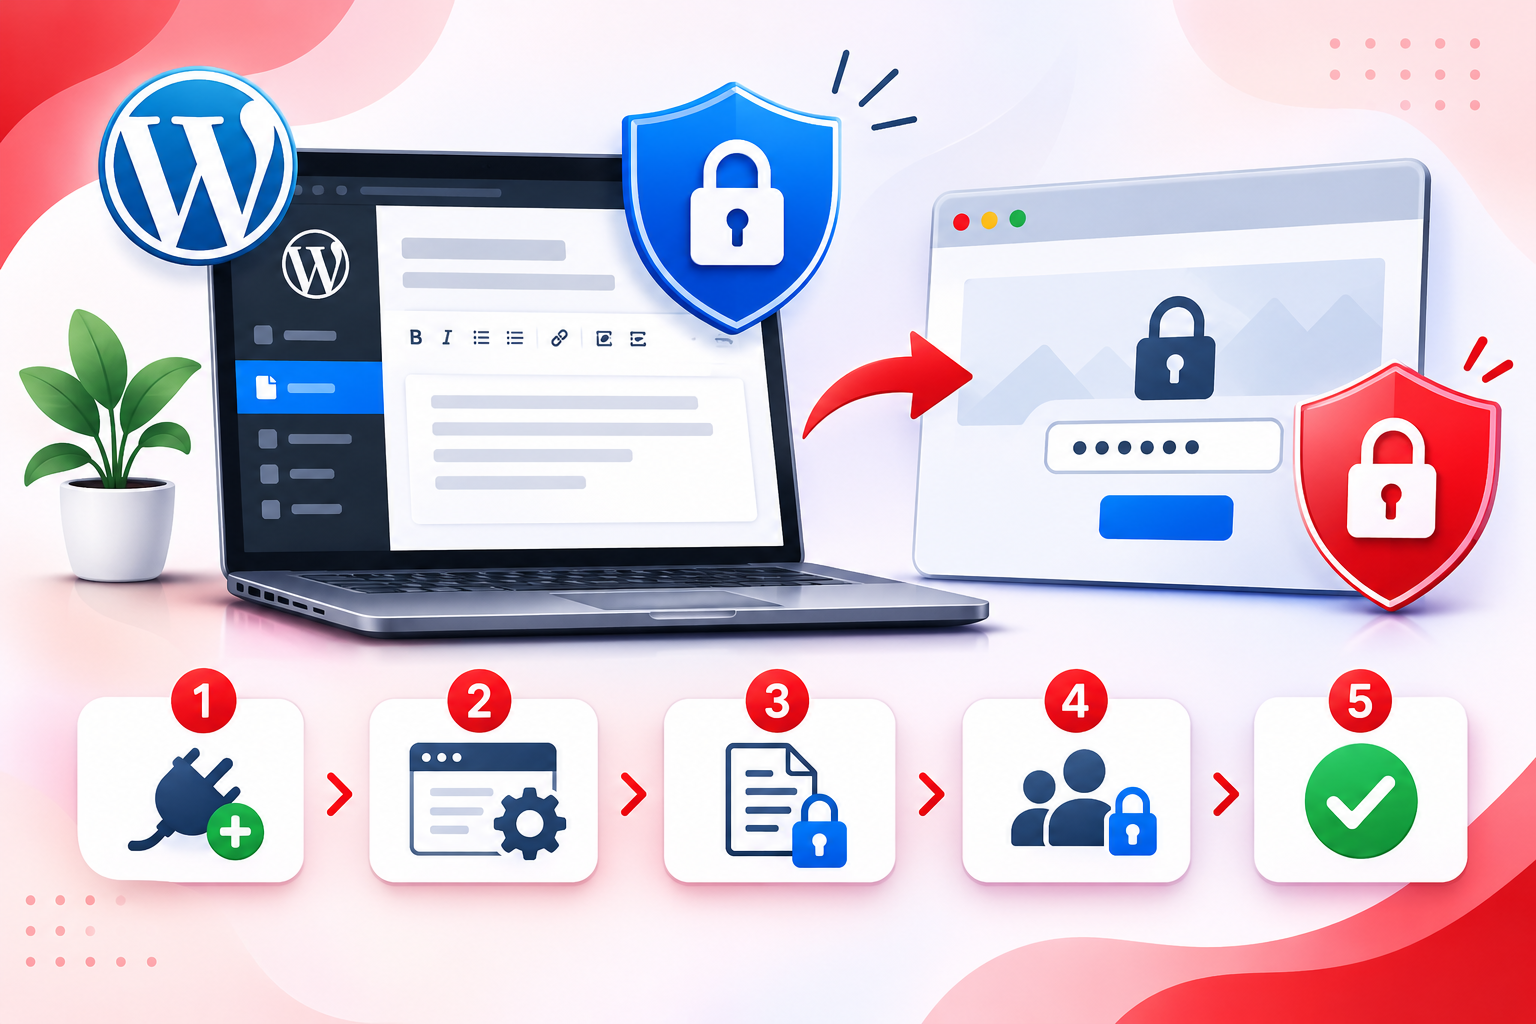
How to Password Protect a Page in WordPress
WordPress provides a built-in visibility setting that lets you protect individual pages. You can use it for both new pages and existing published pages.
Follow these steps.
Step 1: Open the WordPress Page Editor
- Log in to your WordPress dashboard.
- Navigate to Pages → All Pages.
- Find the page you want to protect.
- Click Edit to open the page editor.
If you are creating a new protected page, navigate to Pages → Add New Page instead.
Step 2: Open the Page Visibility Settings
If you are using the WordPress Block Editor (Gutenberg):
- Open the settings sidebar using the gear icon in the top-right corner if it is not already visible.
- Select the Page settings tab.
- Locate the Status or Status & Visibility section.
- Find the current visibility setting, which is normally displayed as Public.
- Click the visibility setting to open its options.
The exact presentation may vary slightly depending on your WordPress version and editor interface.
Step 3: Select Password Protected
WordPress provides three main visibility options:
- Public: Anyone can view the published page.
- Private: Only authorized WordPress users, such as Administrators and Editors, can access the page.
- Password Protected: Visitors must enter the correct password to view the protected page content.
Select Password Protected.
A password field will appear. Enter a strong password that you can securely share with the intended visitors.
Important: WordPress’s built-in password protection has a 20-character password limit. Keep your password within this limit.
Step 4: Save or Update the Page
After entering the password:
- Confirm the visibility setting.
- Click Publish if this is a new page.
- Click Update if you are protecting an existing page.
Your page is now password protected.
Visitors who open the page will see a password form instead of the protected content. They must enter the correct password before WordPress displays the page content.
What Happens When Visitors Open a Password-Protected Page?
Once you publish a password-protected page, visitors can access it through its normal URL.
When someone opens the page, WordPress displays a password entry form rather than the protected content.
The visitor needs to:
- Open the page URL.
- Enter the password you shared with them.
- Submit the password.
- View the protected content if the password is correct.
WordPress uses a browser cookie to remember successful password entry. By default, this cookie expires after 10 days, so visitors generally do not need to enter the password again during that period when using the same browser.
If visitors clear their browser cookies, use another browser, or access the page from another device, they may need to enter the password again.
An additional detail is that WordPress normally displays the protected page title with a Protected: prefix. The page title may therefore remain visible even though its main content is restricted.
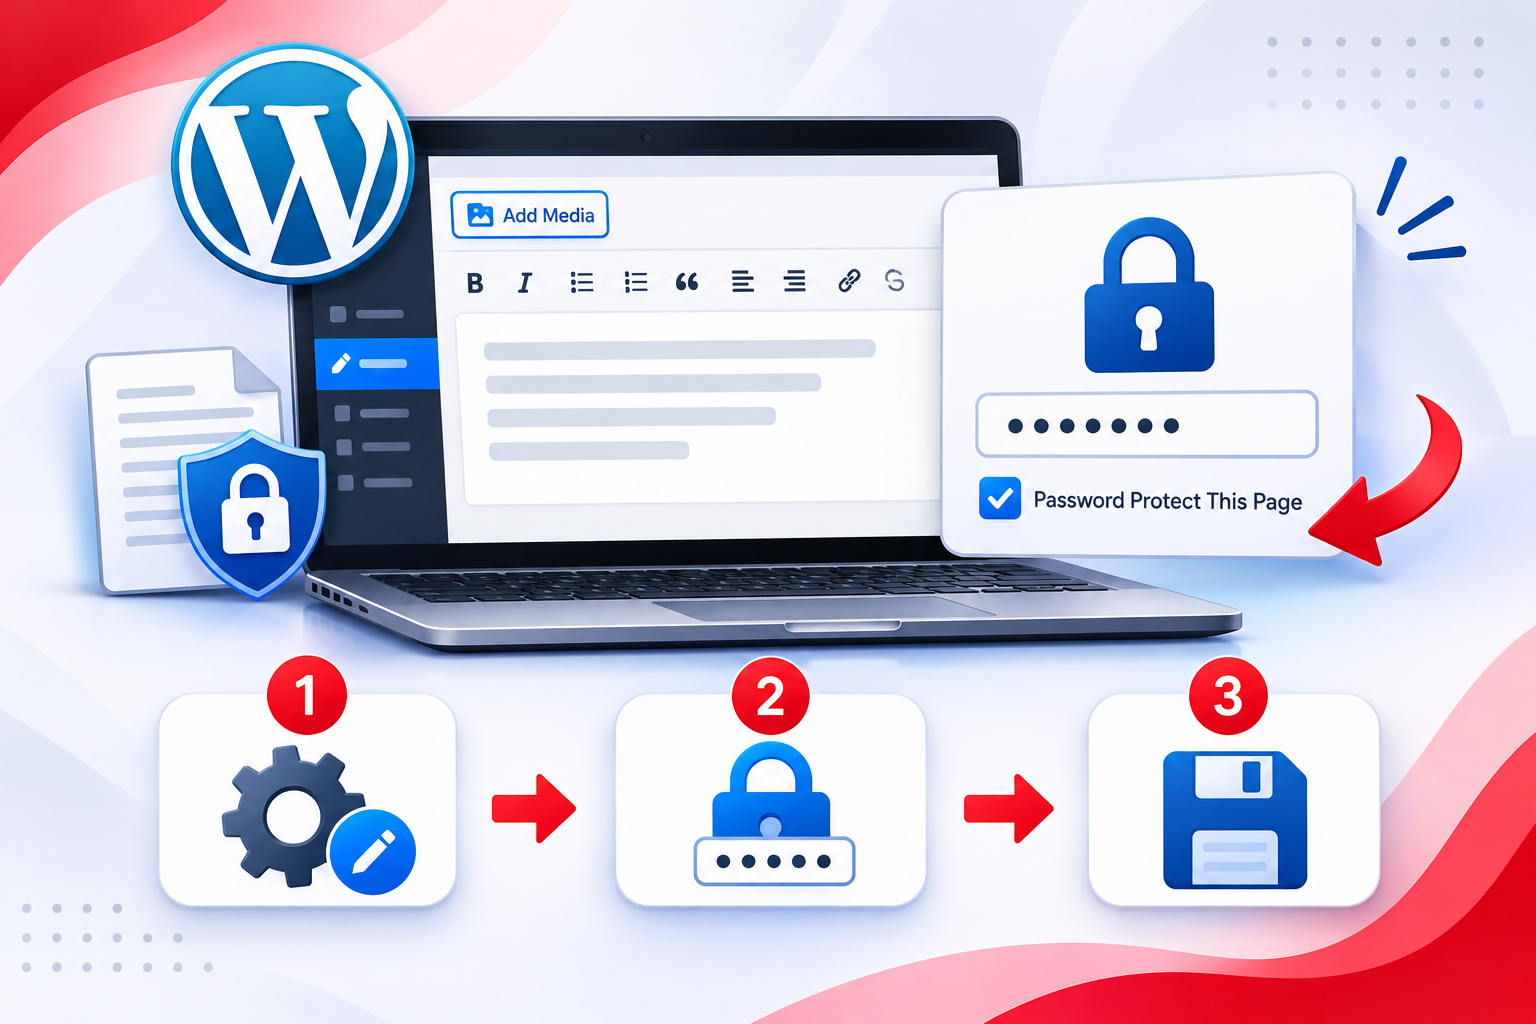
How to Password Protect a Page Using Classic Editor
If your website uses the Classic Editor instead of Gutenberg, you can still password protect a page through its publishing settings.
Follow these steps:
- Navigate to Pages → All Pages.
- Open the page you want to protect.
- Locate the Publish box on the right side of the editor.
- Find the Visibility option.
- Click Edit next to Public.
- Select Password Protected.
- Enter your password.
- Click OK.
- Click Update to save the changes.
The page will now require the password before visitors can view its protected content.
How to Remove Password Protection from a WordPress Page
If you no longer need to restrict access, you can make the page publicly accessible again.
Follow these steps:
- Navigate to Pages → All Pages.
- Open the password-protected page.
- Access its visibility settings.
- Change Password Protected to Public.
- Click Update.
The page will become publicly accessible without requiring a password.
You can also change the existing password by returning to the same visibility settings, selecting Password Protected, entering a new password, and updating the page.
Password Protected vs Private Pages in WordPress
WordPress offers both Password Protected and Private visibility options. Although both restrict public access, they serve different purposes.
| Feature | Password Protected | Private |
| Requires a password | Yes | No |
| Requires a WordPress account | No | Yes |
| Accessible to ordinary visitors | With the password | No |
| Accessible to authorized Administrators | Yes | Yes |
| Accessible to authorized Editors | Yes | Yes |
| Suitable for sharing with clients | Yes | No |
Which option should you choose?
Choose Password Protected when you want to share a page with clients, customers, or selected visitors without requiring them to create WordPress accounts.
Choose Private when the page should only be accessible to authorized WordPress users, such as your website administrators and editors.
Limitations of WordPress Page Password Protection
WordPress’s built-in password protection is convenient for basic content restrictions, but it is not a complete access-control or security system.
Before using it for business content, understand the following limitations.
1. The Password Is Shared
Anyone who knows the password can access the protected page. WordPress does not create separate credentials for individual visitors.
For example, if you share one password with five clients, you cannot identify which client accessed the page or revoke access for just one person without changing the shared password.
2. Uploaded Media Files May Remain Public
This is an important limitation.
If you upload PDF documents, images, videos, or other files and insert them into a password-protected page, their direct Media Library URLs may still be accessible without entering the page password.
For example:
- A PDF embedded in a protected page may still be downloaded using its direct URL.
- An image inserted into a protected page may still load independently.
- A visitor who obtains the direct file address may be able to access the resource without passing through the password form.
Therefore, do not assume that protecting a WordPress page automatically protects every file associated with it.
If you need to restrict downloadable documents, use a dedicated file-protection solution that controls access to the actual files.
3. Page Titles and Other Displayed Information May Remain Visible
Password protection primarily restricts the page’s main content. It does not automatically hide every reference to the page across your website.
For example, a protected page title may appear in navigation, search results, or other theme-generated listings, depending on how your website is configured.
If you also need to hide the page from public listings, you may require additional theme or query customization.
4. It Is Not Designed for Highly Confidential Information
The built-in feature uses a shared password rather than individual user authentication.
It is suitable for basic content restrictions, but it should not be treated as a secure document management system.
For confidential client records, financial documents, or sensitive business information, use an appropriate solution with individual authentication and access permissions.
When Should You Use a WordPress Password Protection Plugin?
For a single page or a few pages, WordPress’s built-in password protection is usually sufficient.
However, a dedicated WordPress plugin may be more appropriate if you need:
- Different passwords for different visitors or groups.
- Individual user accounts and login credentials.
- Membership-based content access.
- Restricted access to multiple pages or website sections.
- Protection for downloadable files.
- Expiring access or more advanced permission controls.
For these requirements, consider a dedicated WordPress membership or content-restriction solution rather than relying on the default page visibility setting.
Common Problems with WordPress Password Protection
Sometimes password protection may not work as expected. Here are a few common problems and ways to troubleshoot them.
The Password Form Does Not Appear
If visitors can open the page without seeing a password form:
- Check that the page visibility is set to Password Protected.
- Make sure you clicked Update or Publish after changing the setting.
- Test the page in an incognito or private browser window.
- Clear your website and browser cache if necessary.
The Correct Password Is Not Accepted
If WordPress rejects a password that you believe is correct:
- Check for typing errors and accidental spaces.
- Confirm that you are using the latest password.
- Try entering the password manually instead of using browser autofill.
- Test the page in another browser.
The Protected Page Displays Old Content
If visitors continue seeing an outdated version of the page, a caching plugin, server cache, or CDN may be serving a cached response.
Clear the relevant caches and check that password-protected pages are handled correctly by your caching configuration. Protected content and password forms should not be served indiscriminately from shared public cache entries.
Best Practices for Password-Protecting WordPress Pages
Follow these recommendations to manage protected pages more effectively:
- Use a unique password: Avoid reusing your WordPress login password or other account credentials.
- Share passwords securely: Send passwords through a trusted communication channel rather than publishing them alongside the page URL.
- Review access regularly: Change the password when access should no longer be available to previous recipients.
- Test the page: Open it in a private browser window to confirm that visitors see the password form.
- Protect downloadable files separately: Do not assume that files embedded in protected pages are automatically restricted.
- Use HTTPS: Ensure your website uses an SSL certificate to encrypt communication between visitors and your website.
These practices help make basic WordPress password protection more effective.